
Understand how your audience interacts with the front-end aspects of the Searchie Payments integration
🧰 What You Will Need
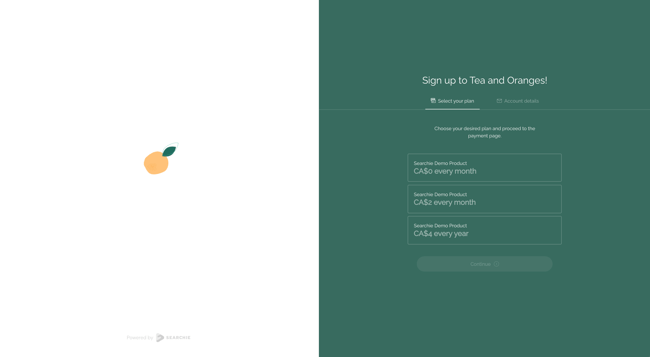
The Searchie Payments integrationStep 1 - Select your plan
The Payment Plan page is the first step for your customers. Your audience will be presented with the Stripe Plans that you attached to your Hub's Payment Menu. The prices on this page will appear in the currency that you initially set up. The prices specify the Product name (top text in the box) and the payment type (monthly, annual, or one-time fee). After selecting their desired plan, your customers are then able to proceed by clicking "Proceed to payment".
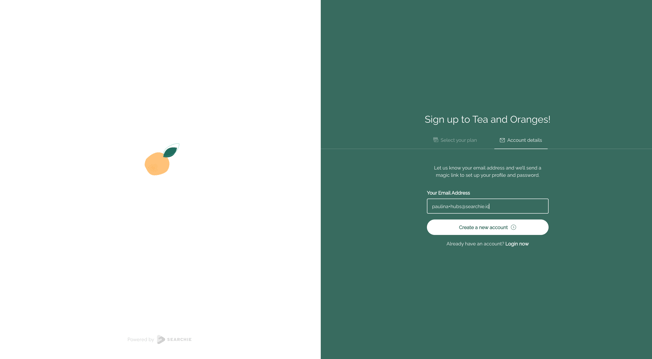
Step 2 - Register your email
After selecting a Stripe Plan, your audience will be prompted to fill in your email address. Then, click Create a new account to fill in your payment details.
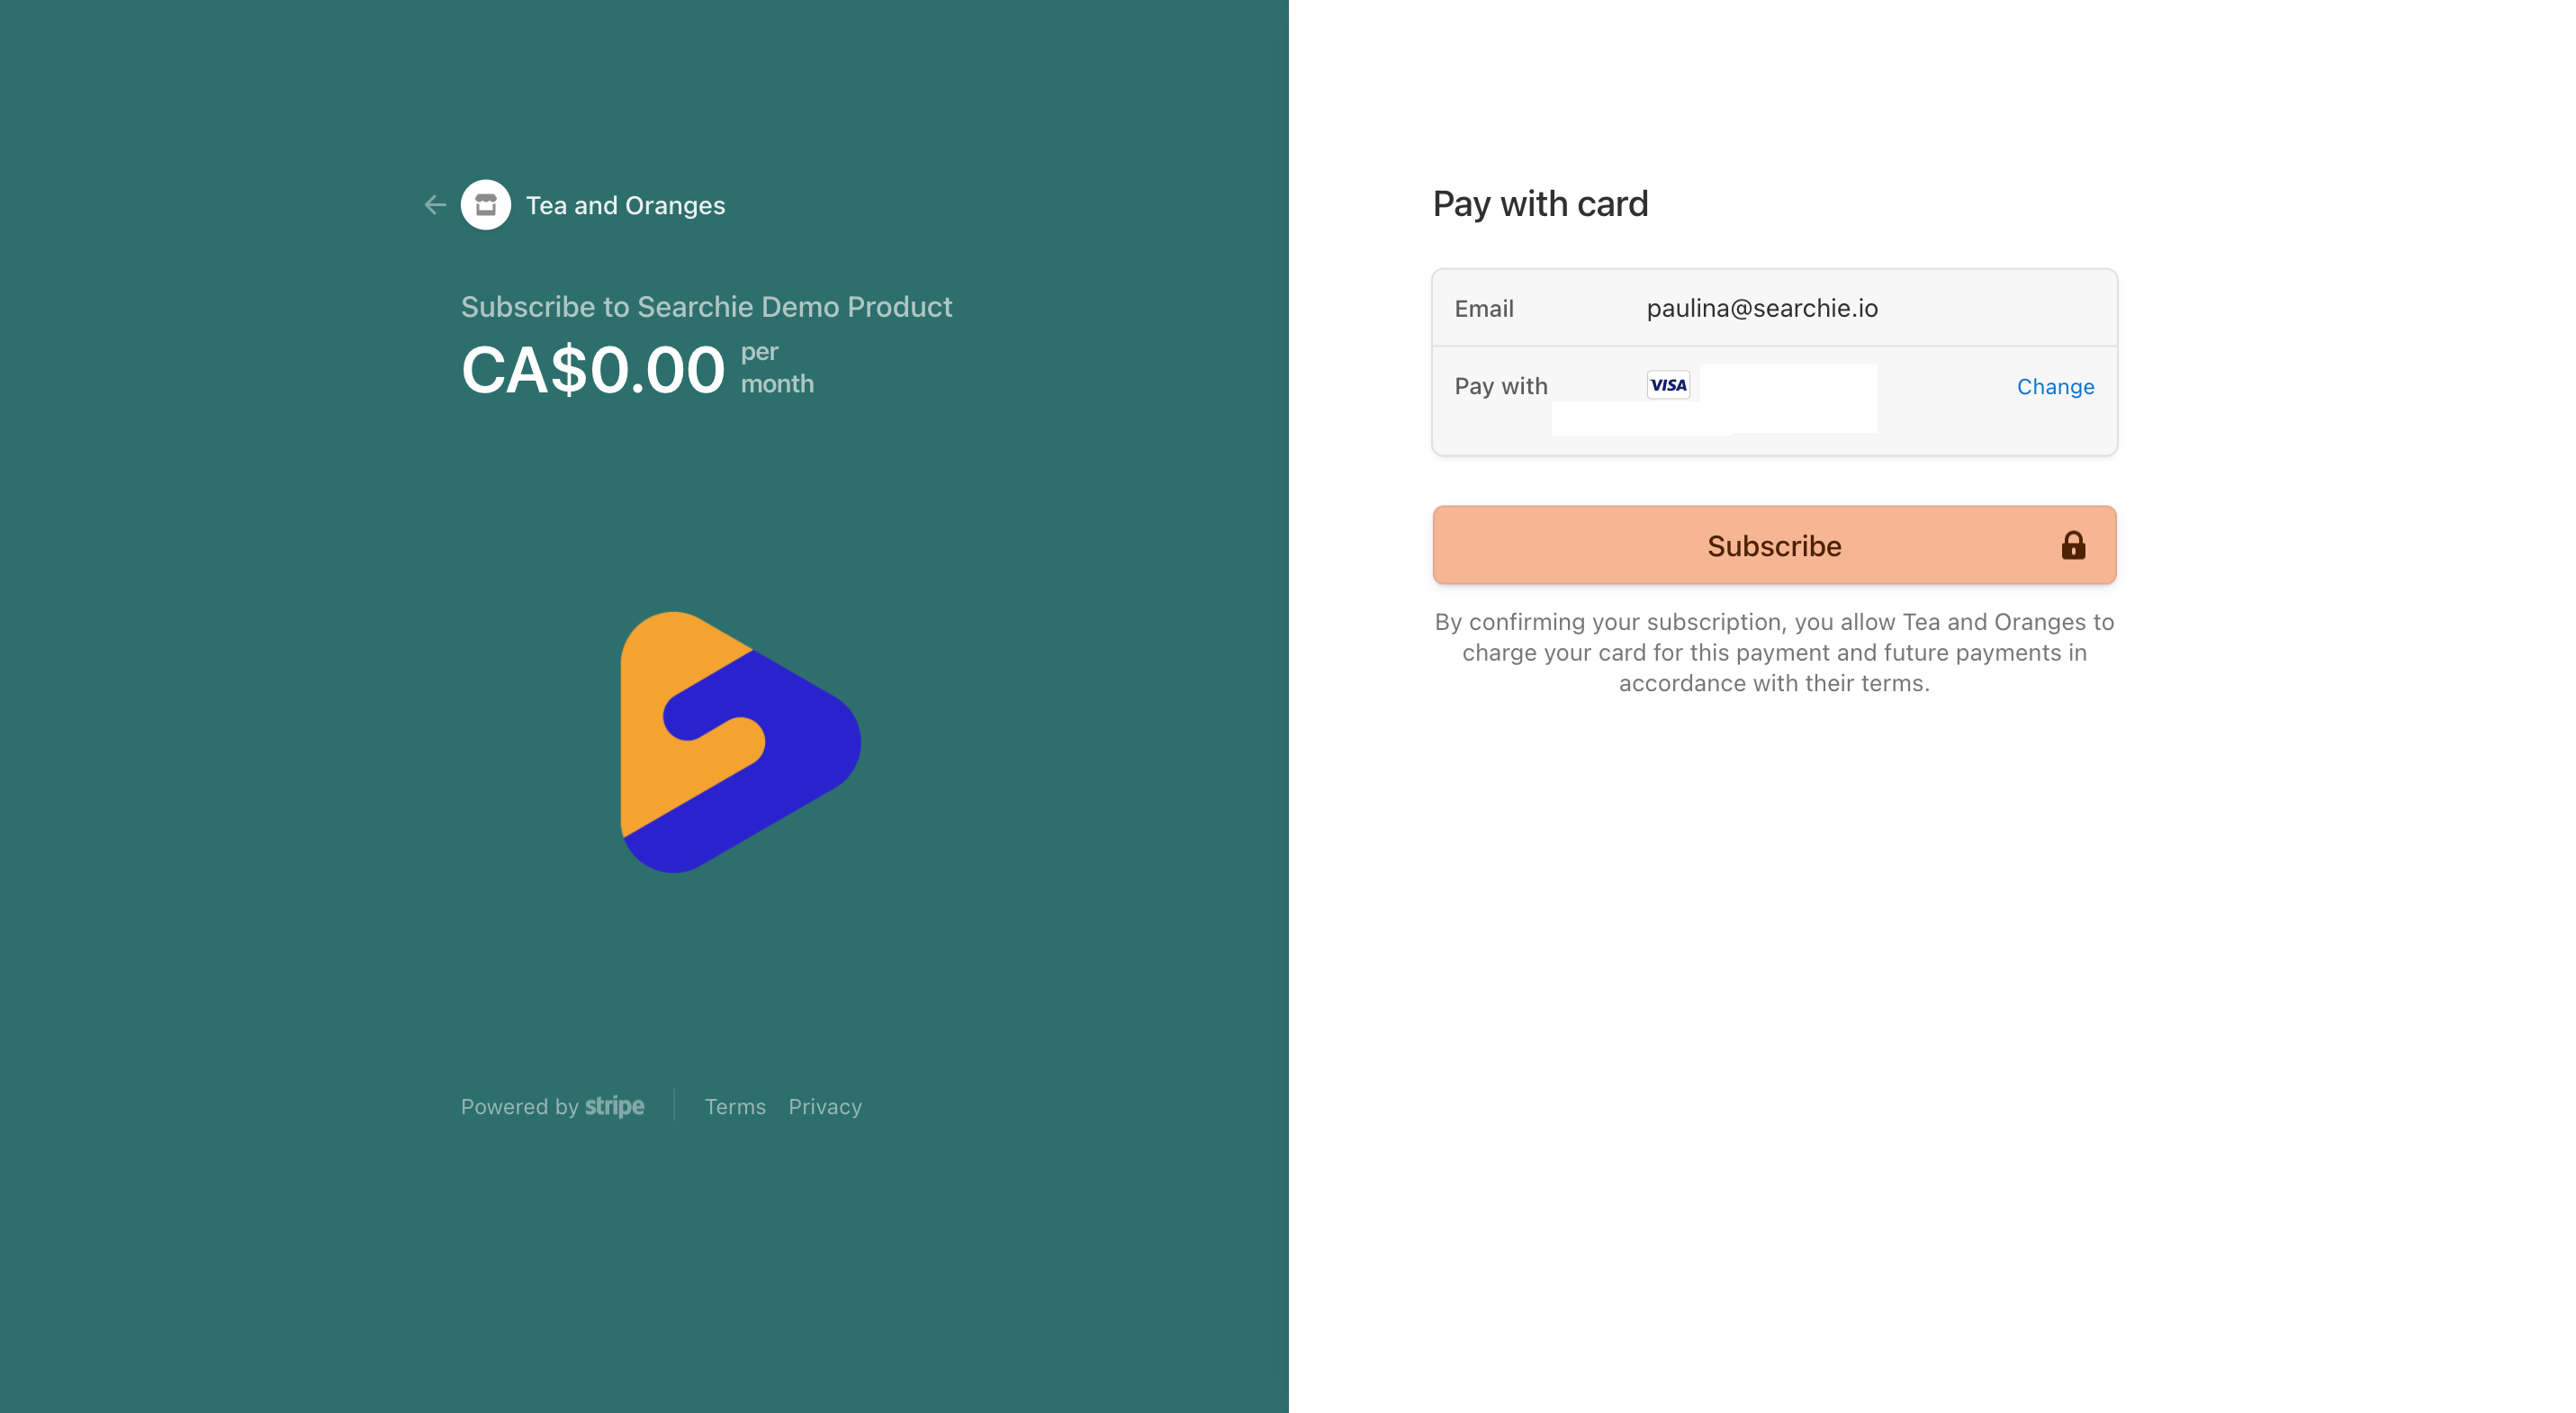
Step 3 - Billing Portal
Your audience will then be directed to the Stripe Billing Portal. This page is a Stripe page that securely collects your customers’ payment method information, name, and country/region information. If your customer would like to change their selected plan, they can use the arrow on the left-hand side of the page to go back to choose their plan. After filling out their information, your customers can proceed by clicking Subscribe.
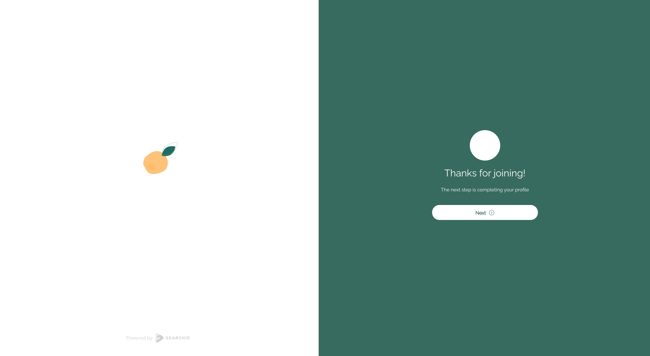
Step 4 - Payment Confirmation Page
Yay! Your customers will be informed that their payment has been processed successfully. Your customers can proceed to finish completing their profile by clicking Next.
Step 5 - Fill out account details
Customers now have the option to fill in their first name, last name and also upload a profile picture. Customers can proceed by clicking Continue.

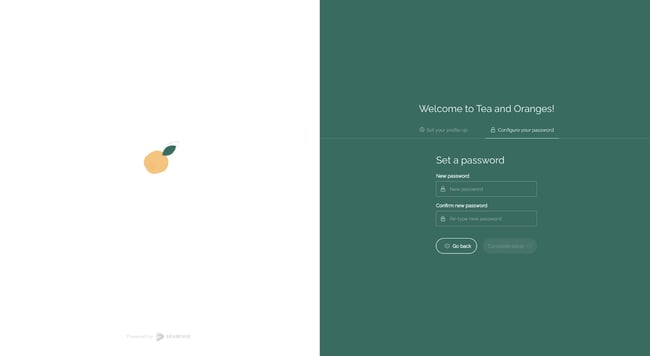
Step 6 - Create account password
Customers will now create a password that they will use to login to their account on your Searchie Hub. Customers can proceed by clicking Complete setup.
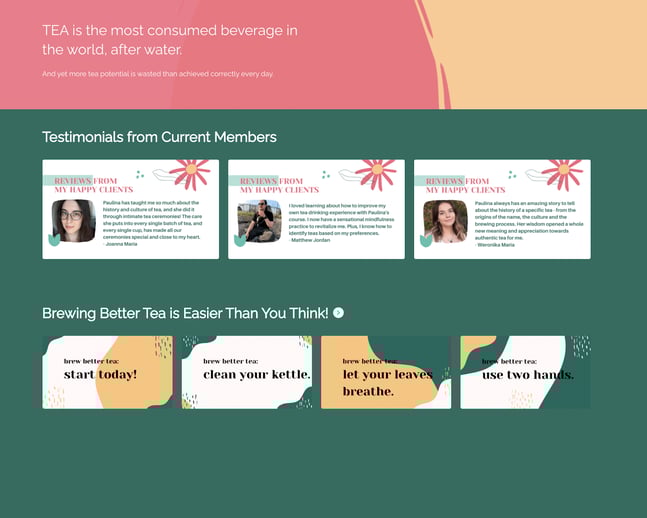
Step 7 - Access Hub Home Page
With their payments processed and accounts created, your customers will be directed to the Home page of your Searchie Hub. The Home page will always be the page that your customers will see after logging into the Searchie Hub.
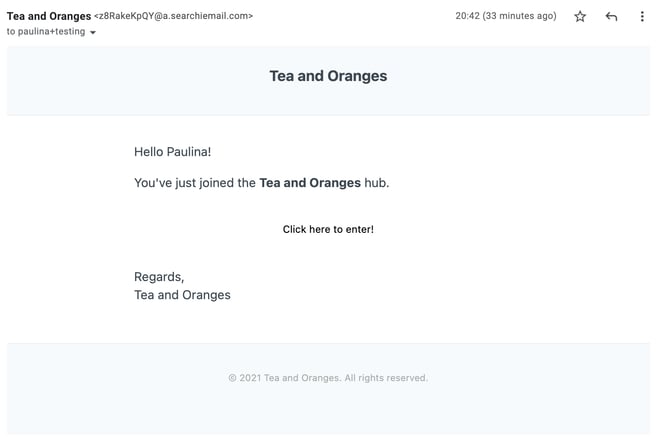
Step 8 - Future Access
After they complete their Hub onboarding, your customers will also receive a Welcome email to the address they provided in Step 1 with a link to enter the Searchie Hub. Below is what the auto-generated email looks like. You can customize this email using our Custom Email Templates.
📚 Up Next
-
Understand the Customer Portal
-
Design Hub thumbnails with Canva