
Create, connect and configure what Audience Attributes are connected to your Hub
🧰 What You Will Need
-
A Searchie Grow plan or higher
-
Audience Attributes
Step 1 - Open Hub Editor
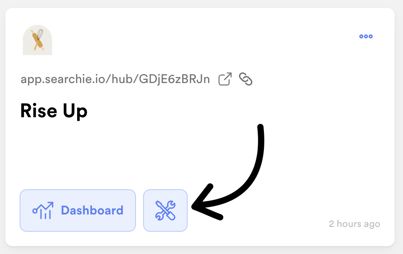
You'll find your Audience Attributes tab inside your Hub Editor. To get started, head to the Hubs tab of your Searchie account and click 🛠 Customize next to your Hub's name to open its Hub Editor.
Step 2 - Access the Attributes Tab
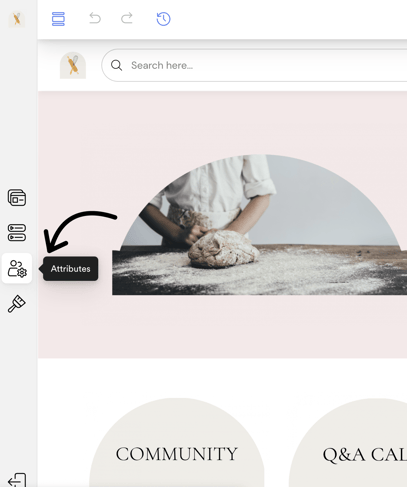
Once inside your Hub Editor, click on the Attributes 👤 tab to open your Audience Attributes menu.
Step 3 - Manage your Audience Attributes
From here, you can create, edit, configure and remove your Audience Attributes.
Click + Add Attribute to start importing existing Audience Attributes, or to create a new Audience Attribute.
Click the three dot menu to edit or remove the Attribute itself.
Click on the Attribute card to configure a specific Attribute.
.png?width=490&height=485&name=downloads.intercomcdn.comio5797910873f344945212f449ef7400a5bFrame+3+(1).png)
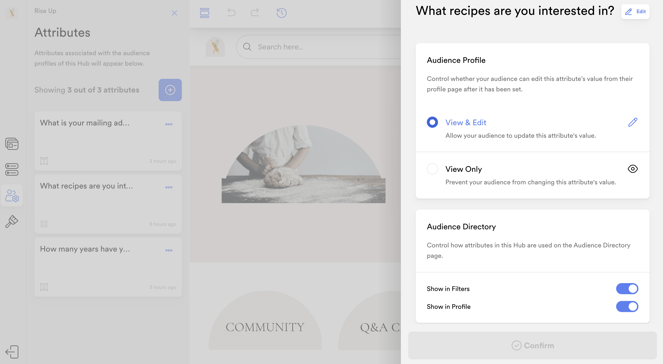
Once you click on any Attribute card, you can configure how that Attribute appears both in the Audience Profile and Audience Directory.
Pick between making your Attribute Viewable & Editable or just Viewable. You can also opt to hide/show the Attribute in the Directory Filters or Audience Profile.
📚 Up Next
-
Add your Audience Attributes to your Onboarding Page
-
Activate your Audience Directory