
Bring your video recordings to life with our annotation tool
🧰 What You Will Need
-
A Searchie account
-
Google Chrome
-
The Searchie Chrome Extension
Step 1 - Start a recording
Once you've installed and pinned the Searchie Extension to your Chrome browser, click on the Searchie icon in the top-right corner of your browser. After clicking the icon, from the dropdown window that appears click Start Recording.
.png)
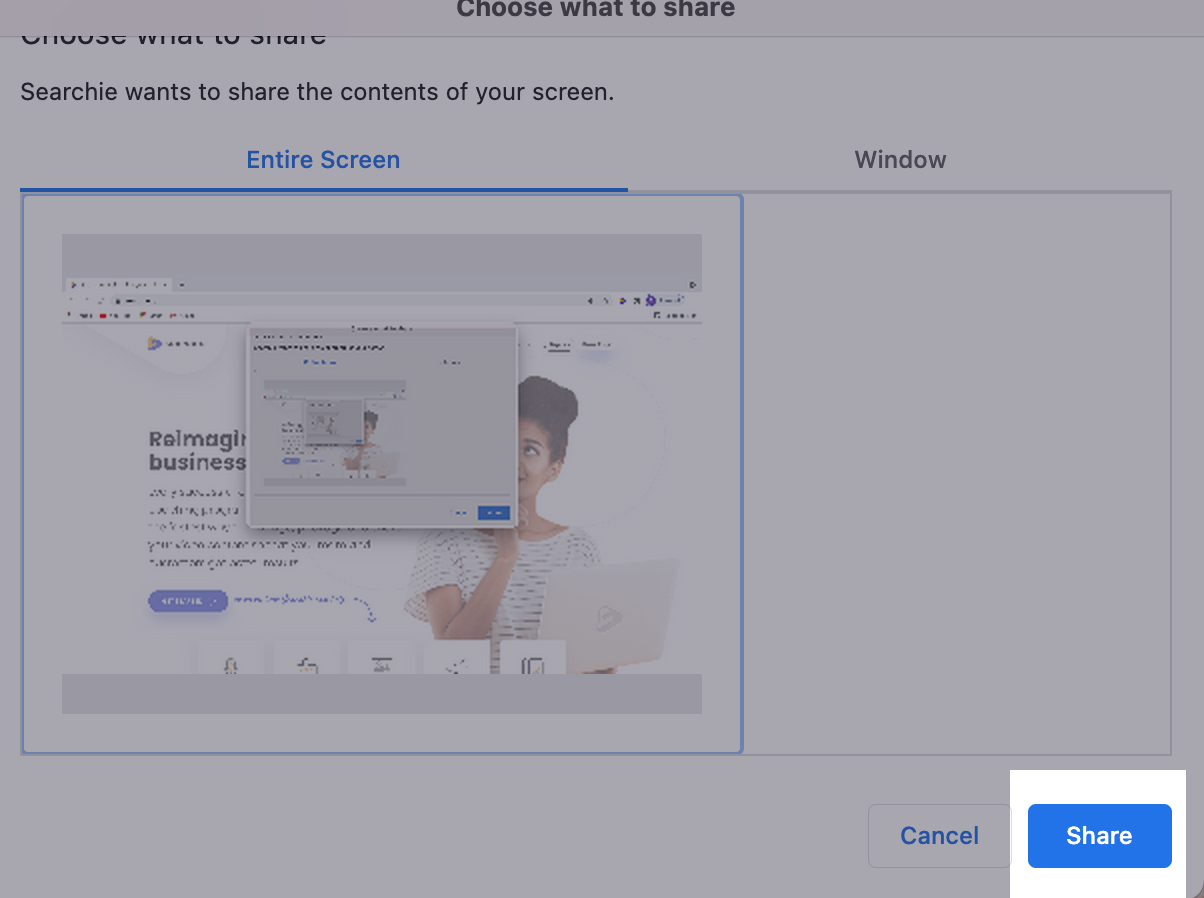
If recording your screen, choose the screen and/or window to record in the next step. Click Share after you have made your selection to begin the recording.
Step 2 - The Annotation menu
Once the recording begins, click the Annotation icon on the far right of the Control Panel in the bottom-left corner of your screen.

Step 3 - Draw, erase, and point to information
Now that the annotation options are visible, you can start to draw and highlight things on your recording.

From left to right...
-
The circle displaying a colour will allow you to choose a colour for the annotations.
-
The pencil icon will give you the ability to draw free-hand in your chosen colour anywhere on your screen.
-
The eraser icon can be used to delete anything drawn with the pencil.
-
The arrow icon will let you drag and drop arrows around your recording to highlight specific areas of it. Check out the GIF below for a quick walkthrough of the various features.
📚 Up Next
-
Build a Playlist with your Extension recordings
-
Search your internal library of recorded SOPs
-
Film a tour of your Hub using the Extension and display it with a Featured section