
Content tags help you organize and sort your media so you can spend less time in Searchie and more time creating for your audience
🧰 What You Will Need
-
Uploaded media
-
Knowledge of Bulk Actions and/or the File Manager
Step 1 - Access your File Manager
From your Library, locate and click on the file you want to customize to launch its File Manager.
Step 2 - Add Tags to the File
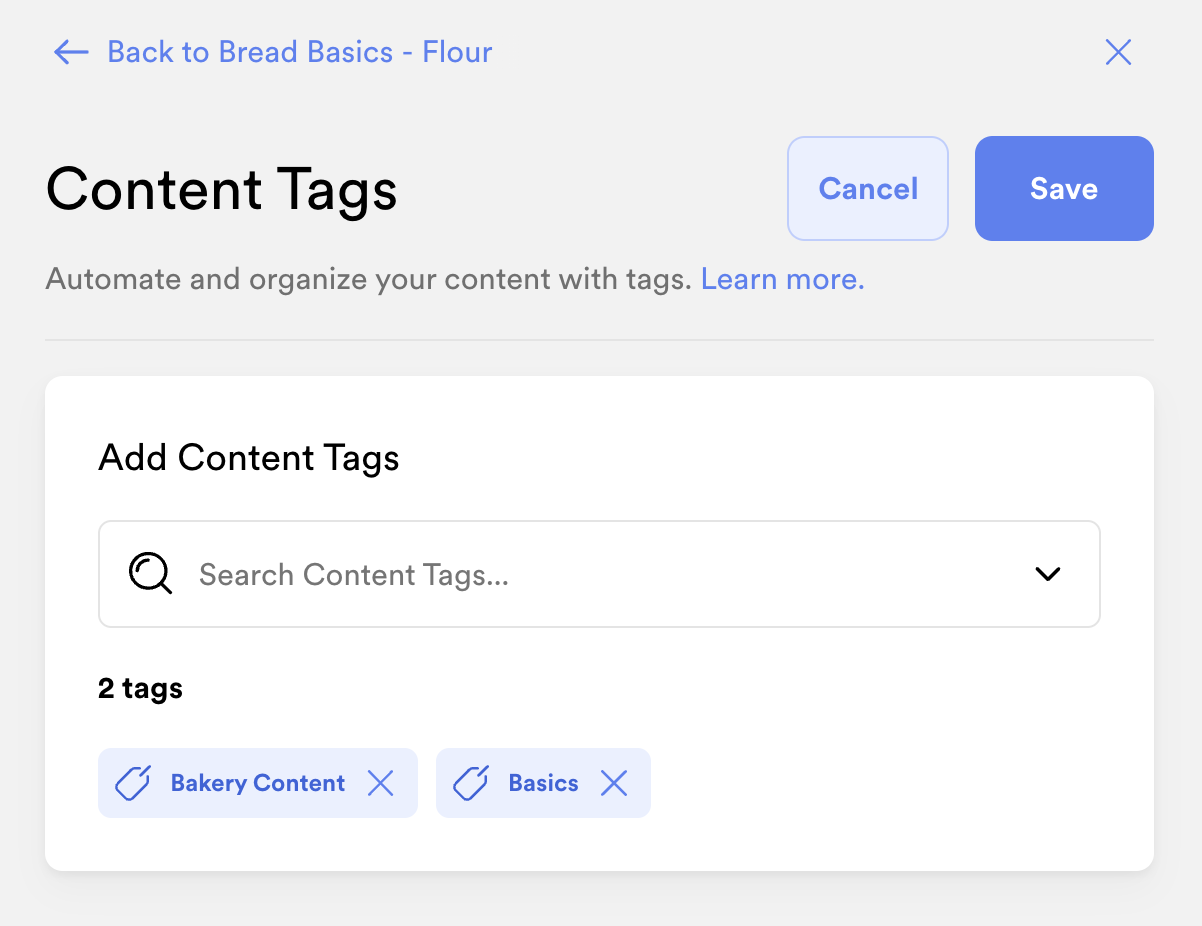
Once inside the File Manager, click Content Tags.

From here, you can add and search through or create Content Tags by typing the Tag name in the Search bar or remove existing Content Tags. Be sure to 💾 Save your changes.
From the Library view, any files that have Content Tags attached will have a Tag icon below the thumbnail.

Step 3 - Editing or deleting Content Tags
If you ever need to rename or delete a content tag, you can do so on your Data page.
📚 Up Next
-
Differentiate between Audience tags versus Attributes