
Learn what is possible in your Hub's Dashboard 🚀
This article will cover how to:
-
Use our Getting Started Checklist
-
Access the Hub Editor
-
Set your Hub to Private or Public
-
Share and Preview your Hub
-
Control your Hub's settings
-
Manage your Hub's Audiences
-
Track your Hub's analytics
Access your Dashboard
From the Hubs tab in your Searchie account, find the Hub you want to access and click Dashboard.
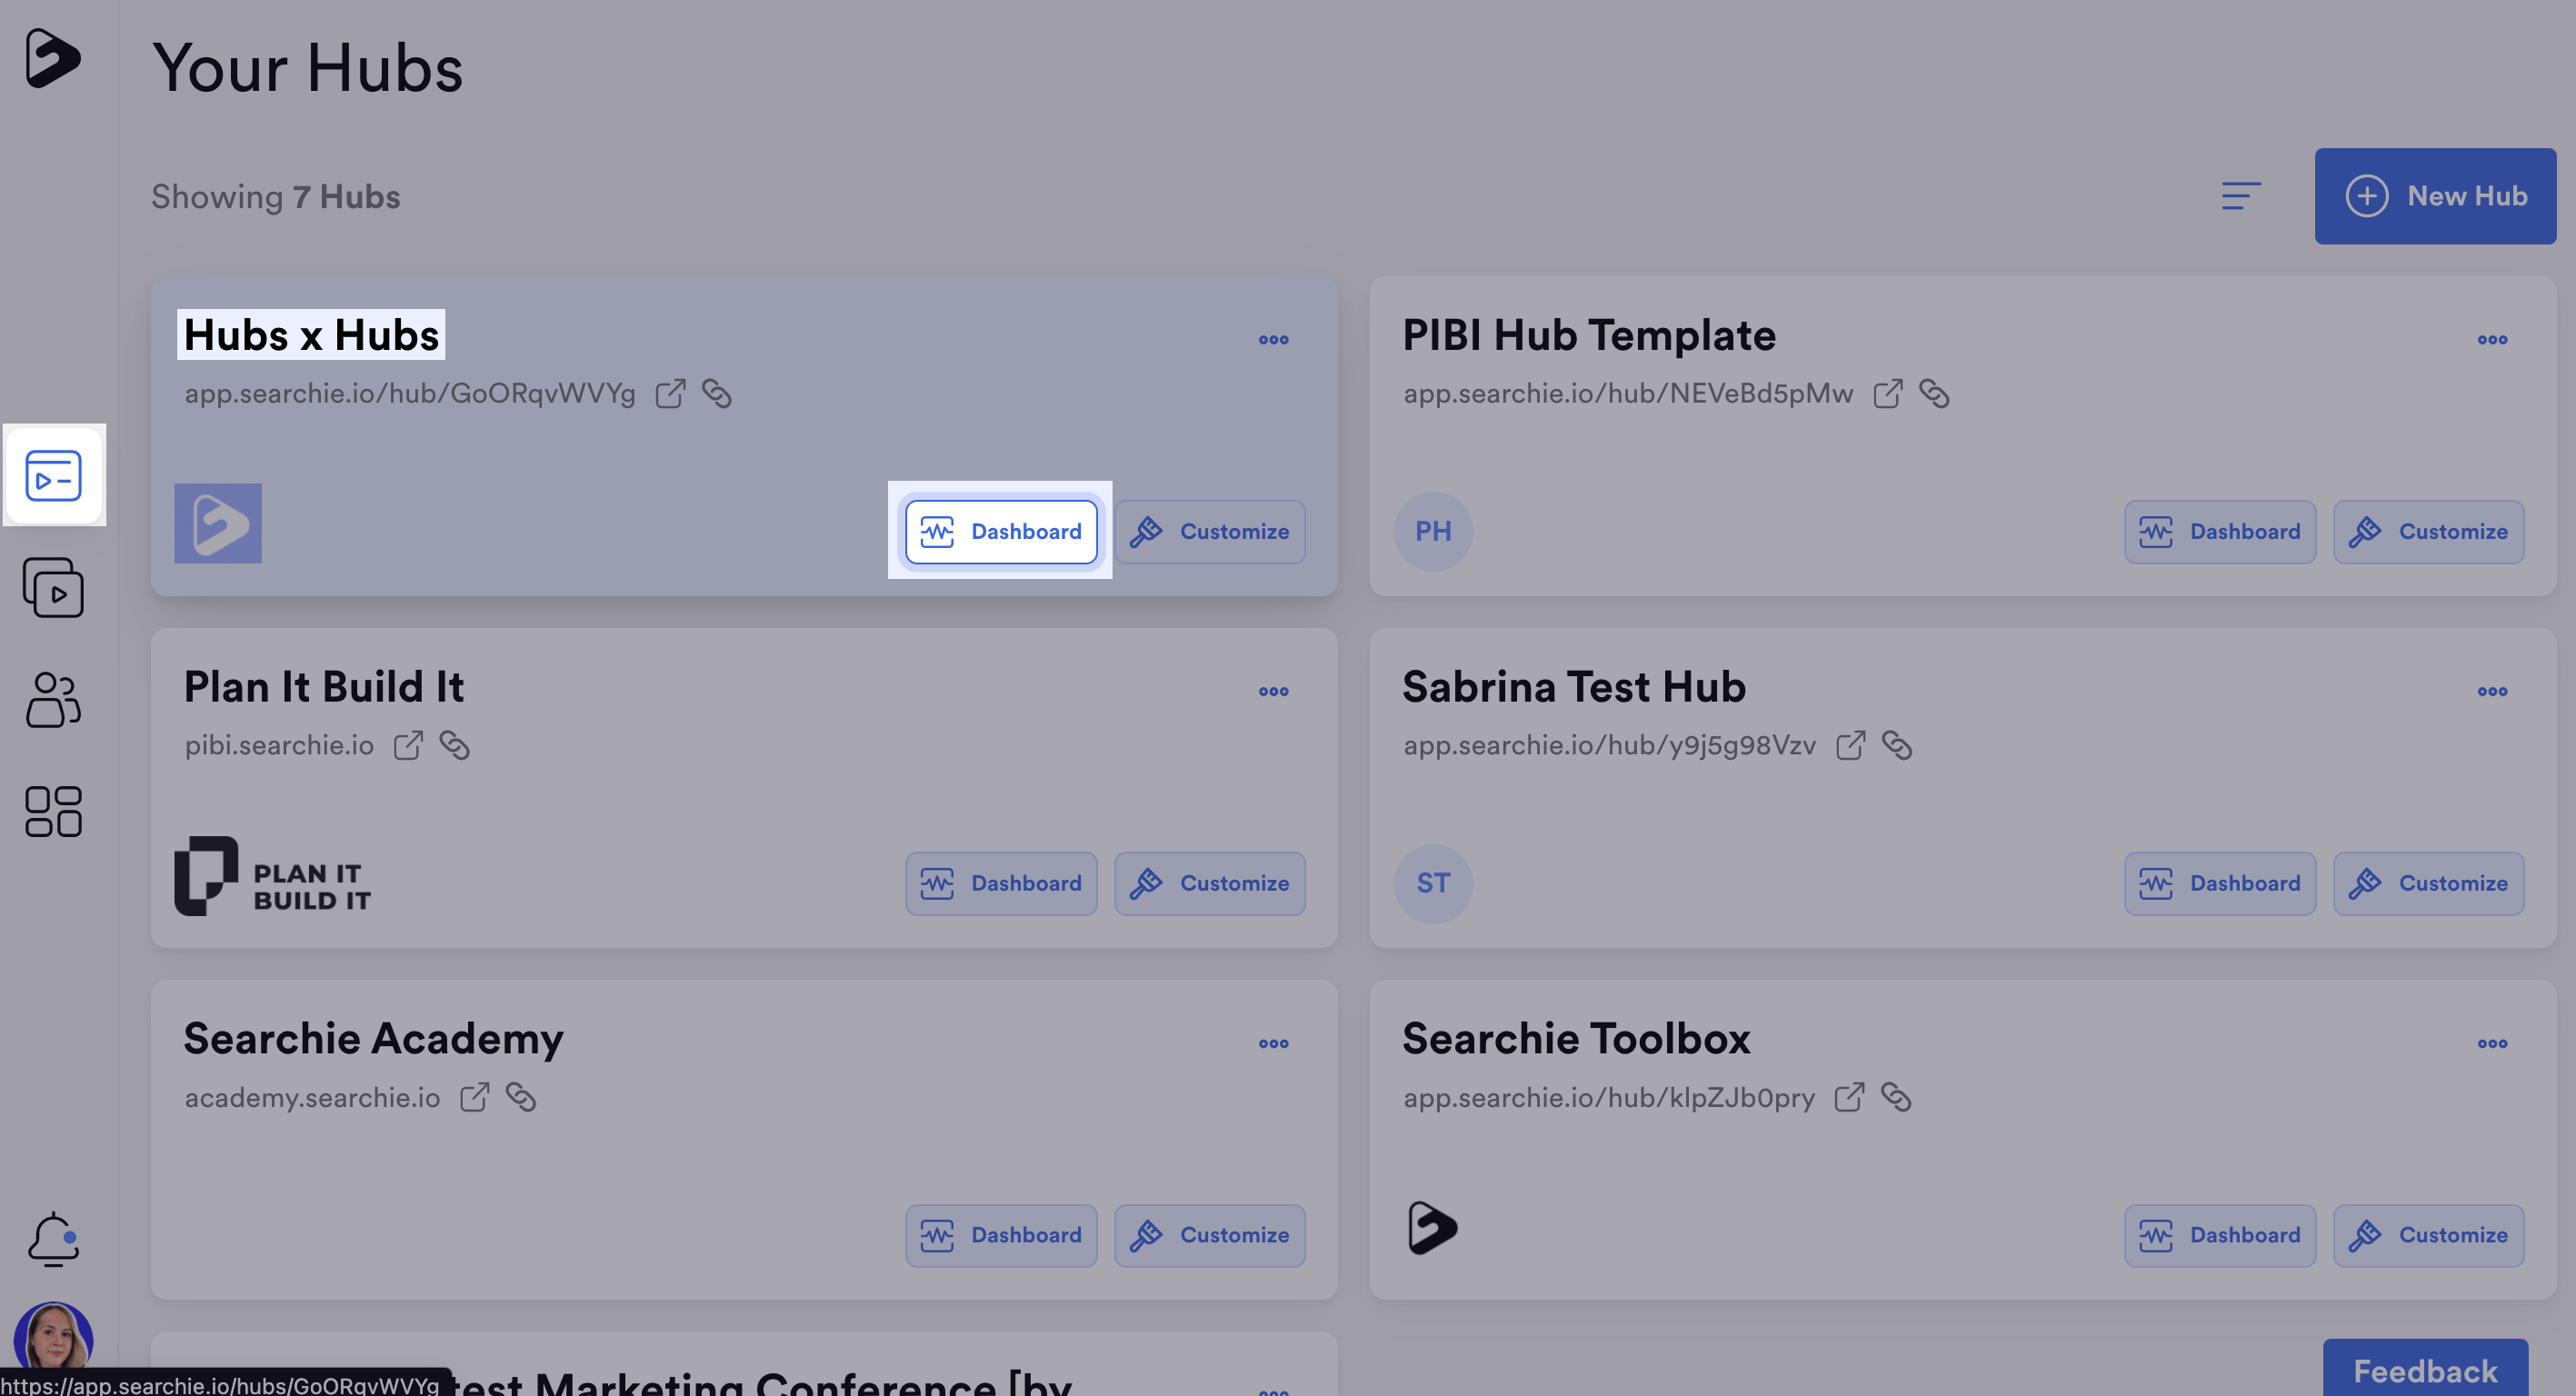
Your Hub Dashboard should look like this:
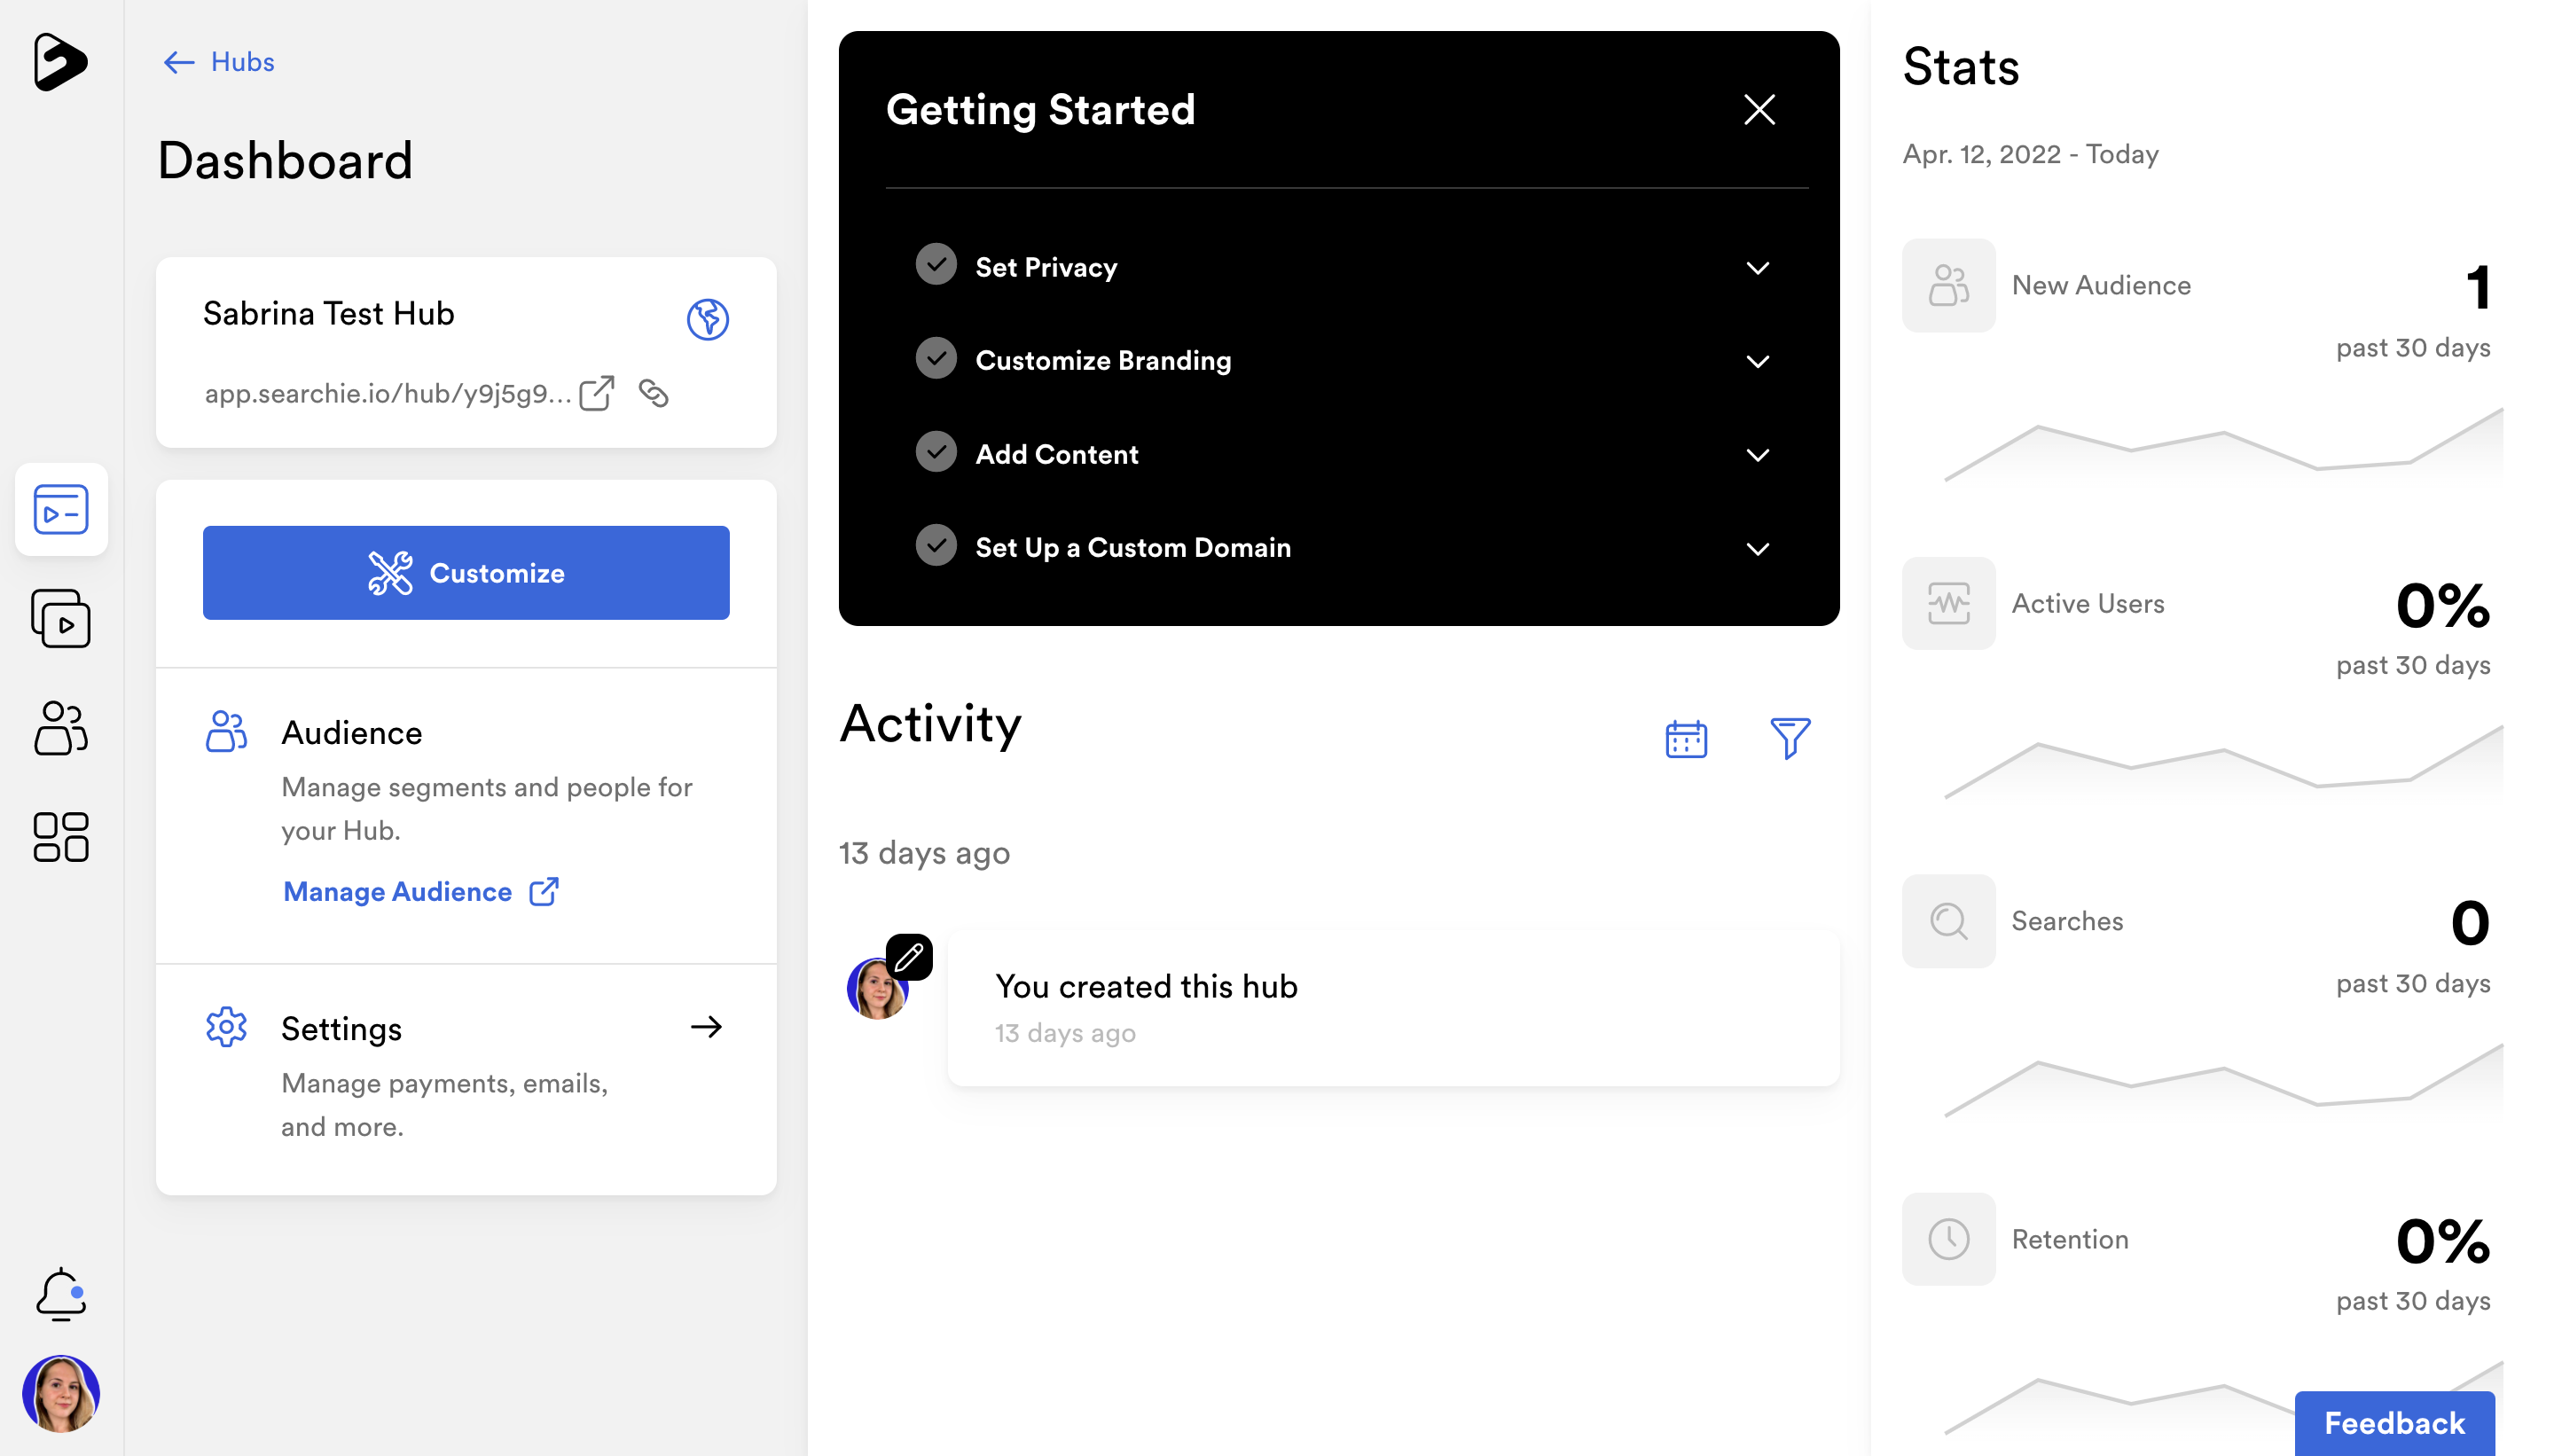
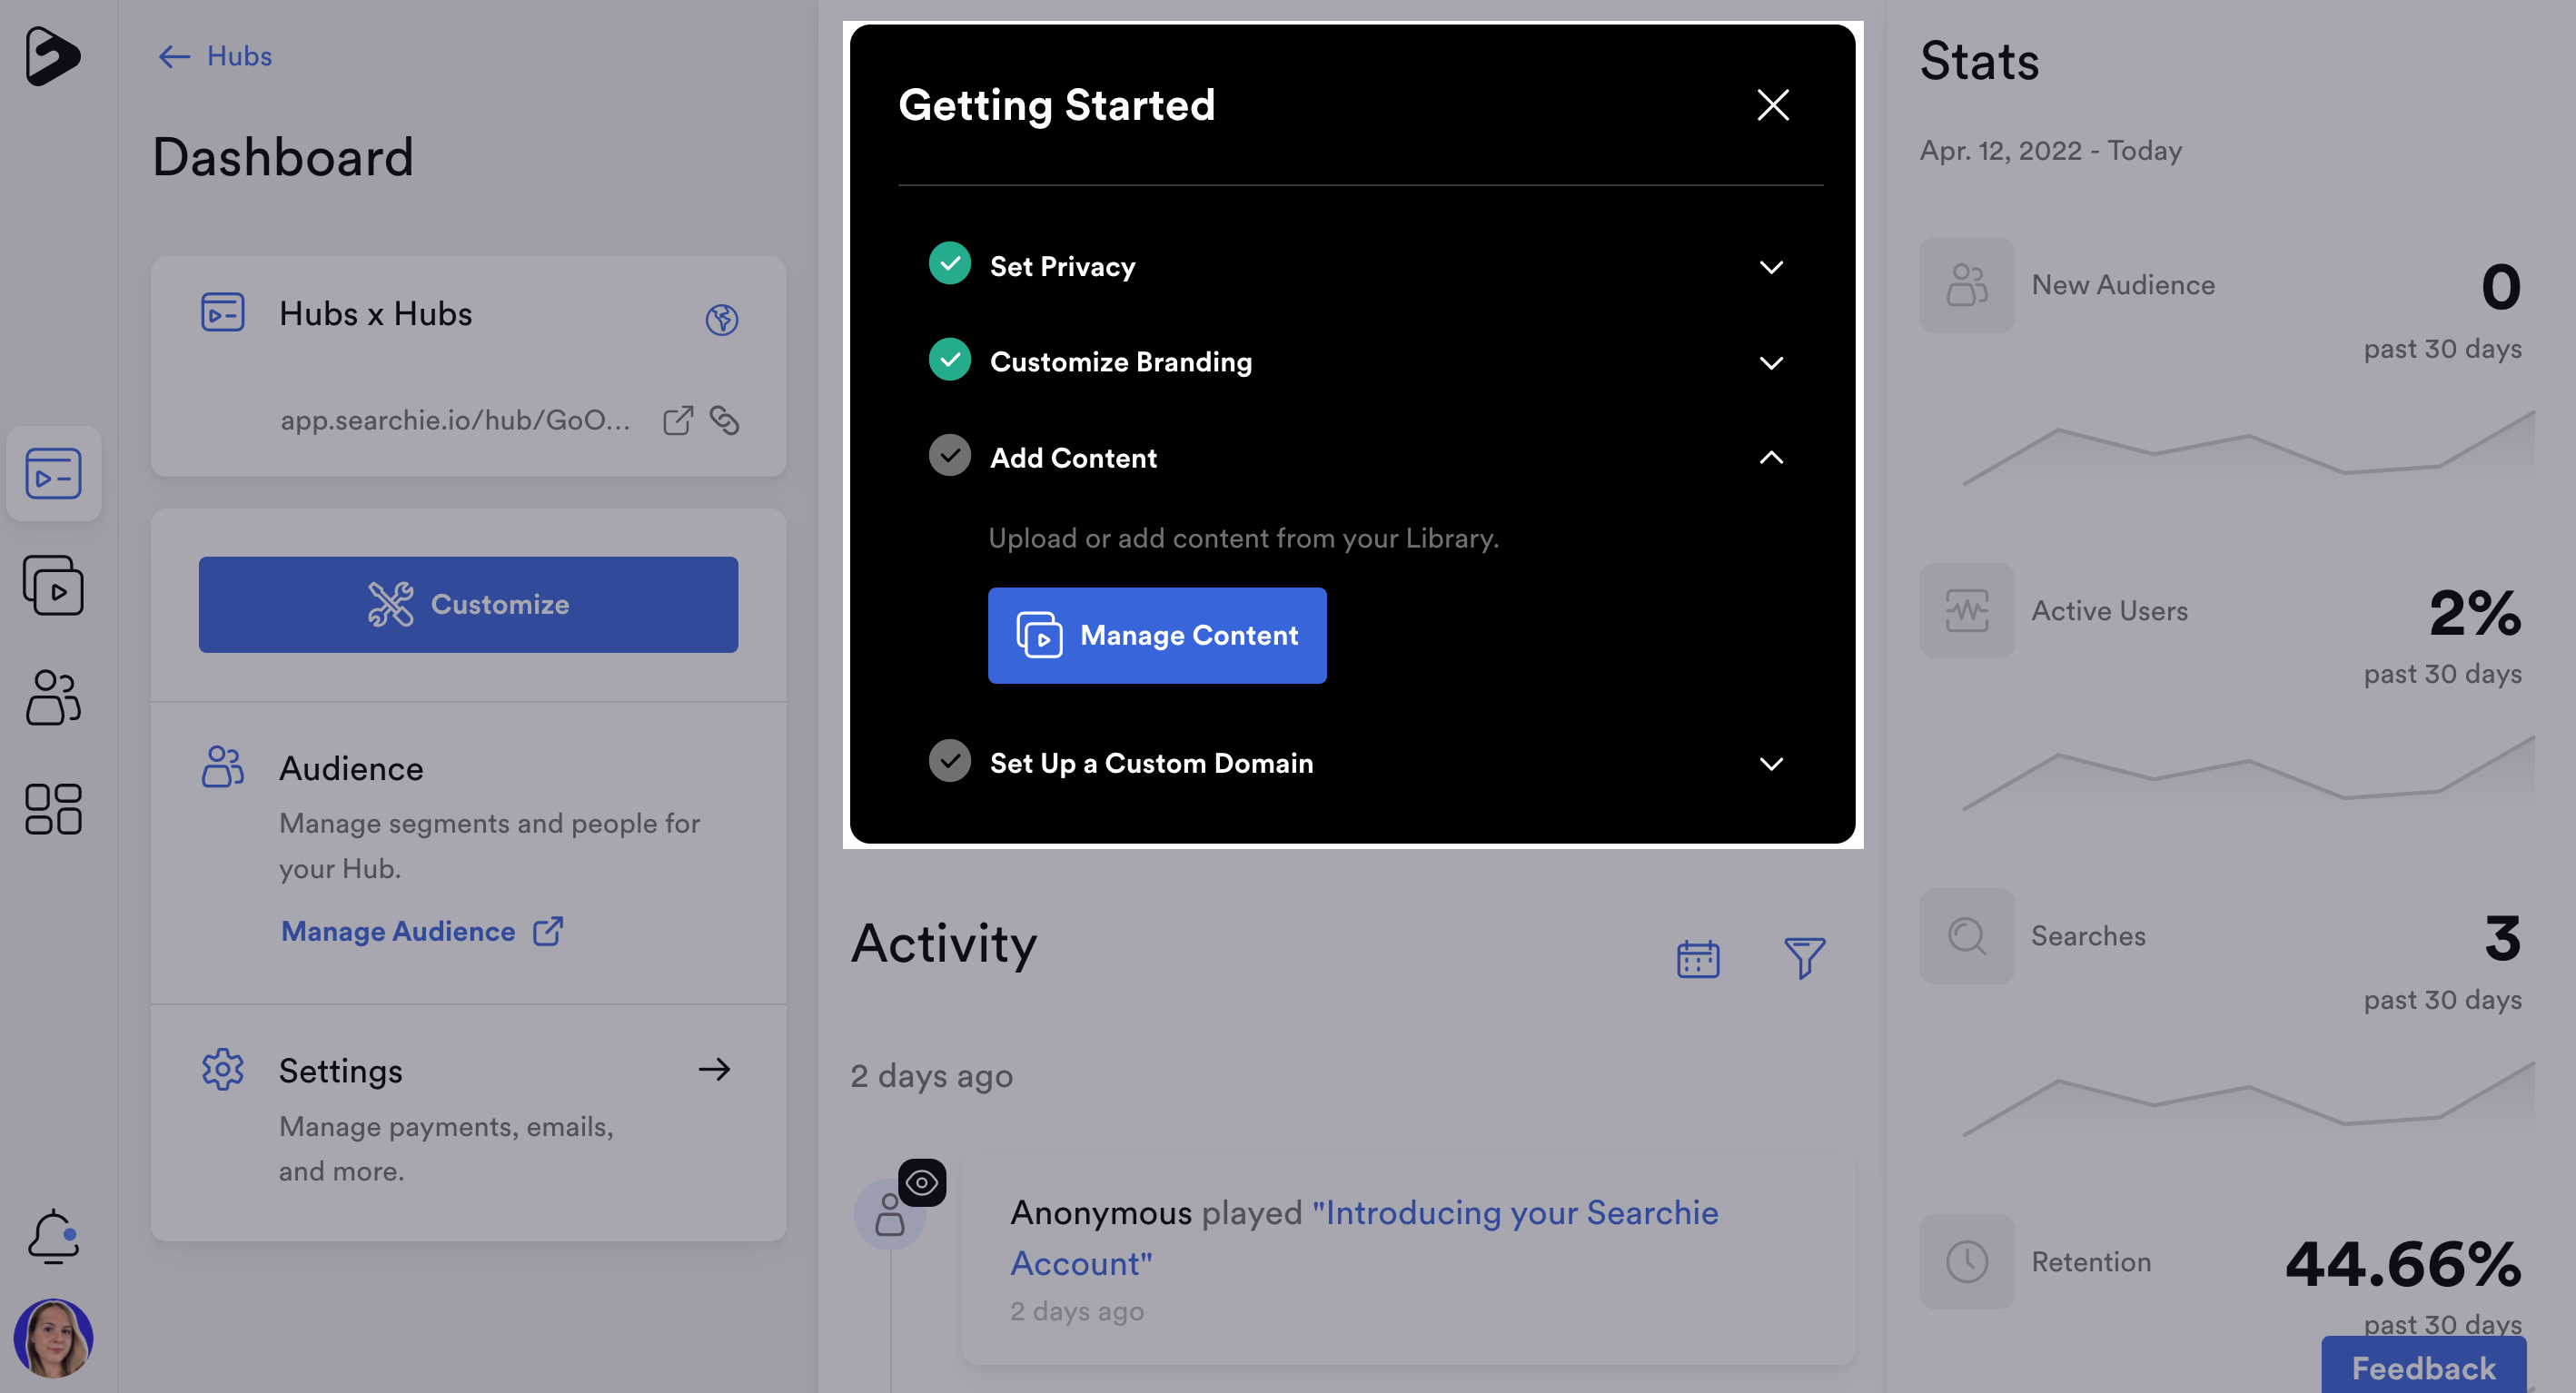
Getting Started Checklist
Use the Getting Started checklist to follow our recommended step-by-step process for setting up your Hub.
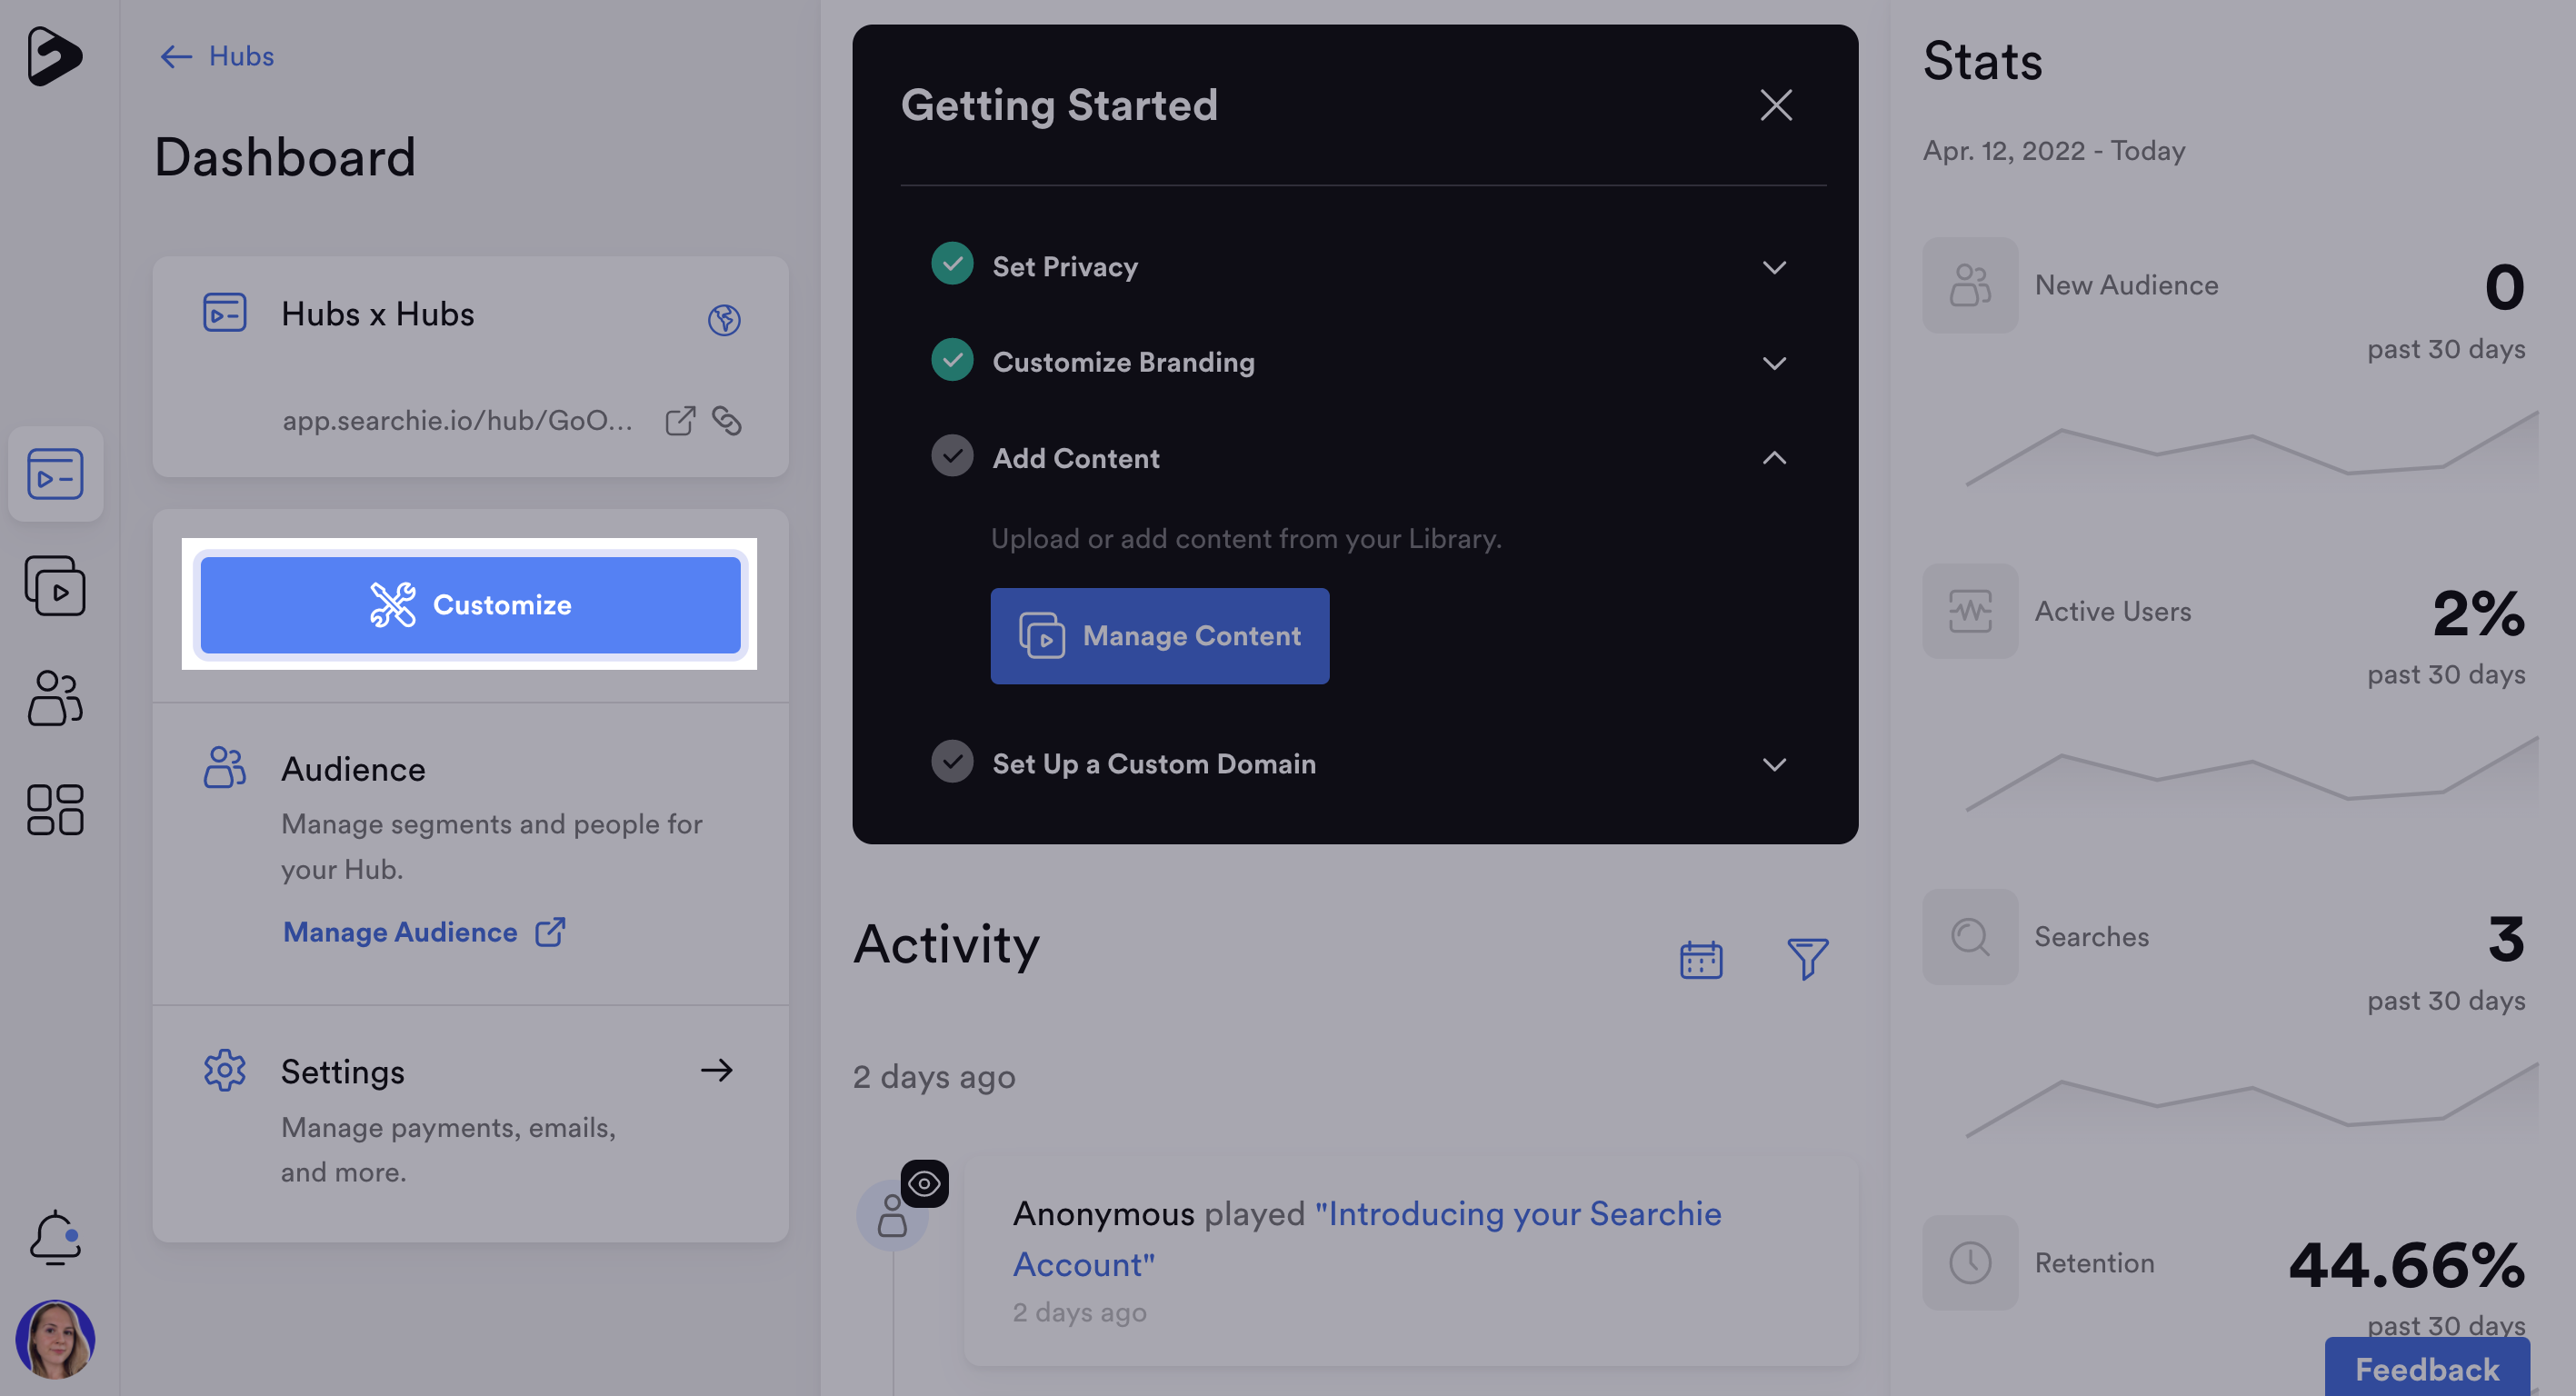
Customize your Hub in the Hub Editor
Click Customize to access your Hub Editor where you can add content to your Hub and customize your Hub's appearance.
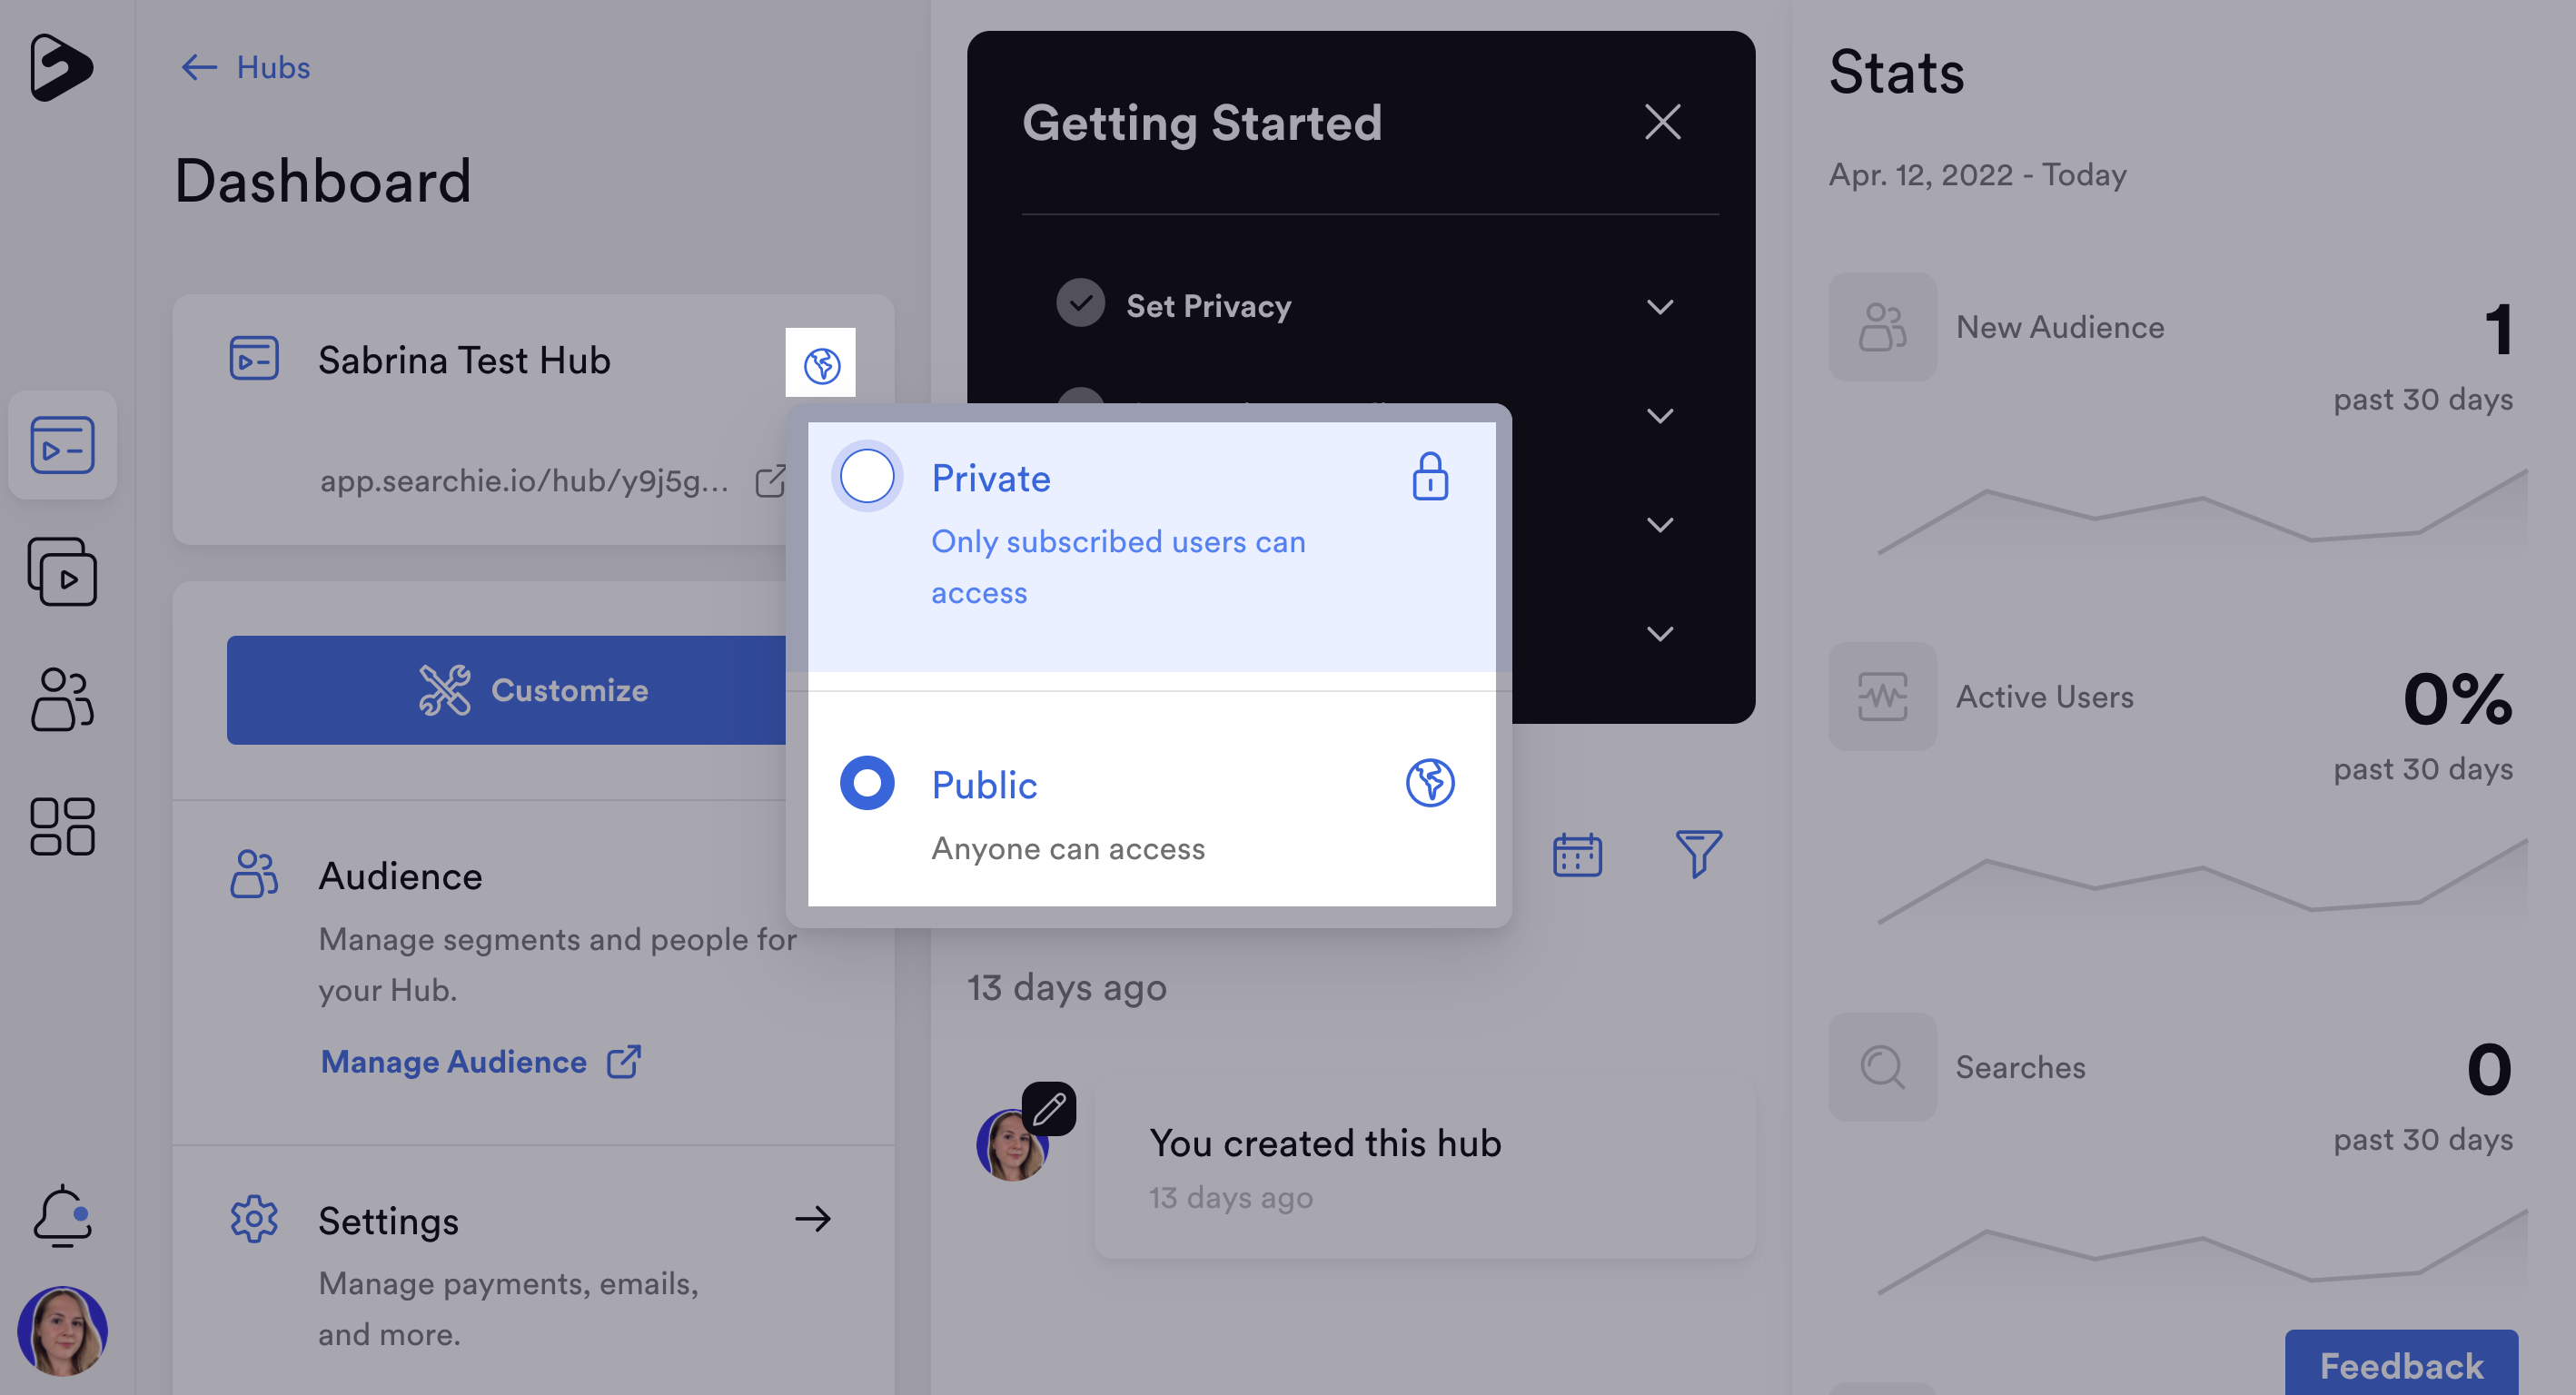
Make your Hub Private or Public
Click on the Globe 🌎 icon to quickly set Hub as Private or Public. Your Hub privacy can also be adjusted inside of your Hub's Settings menu.
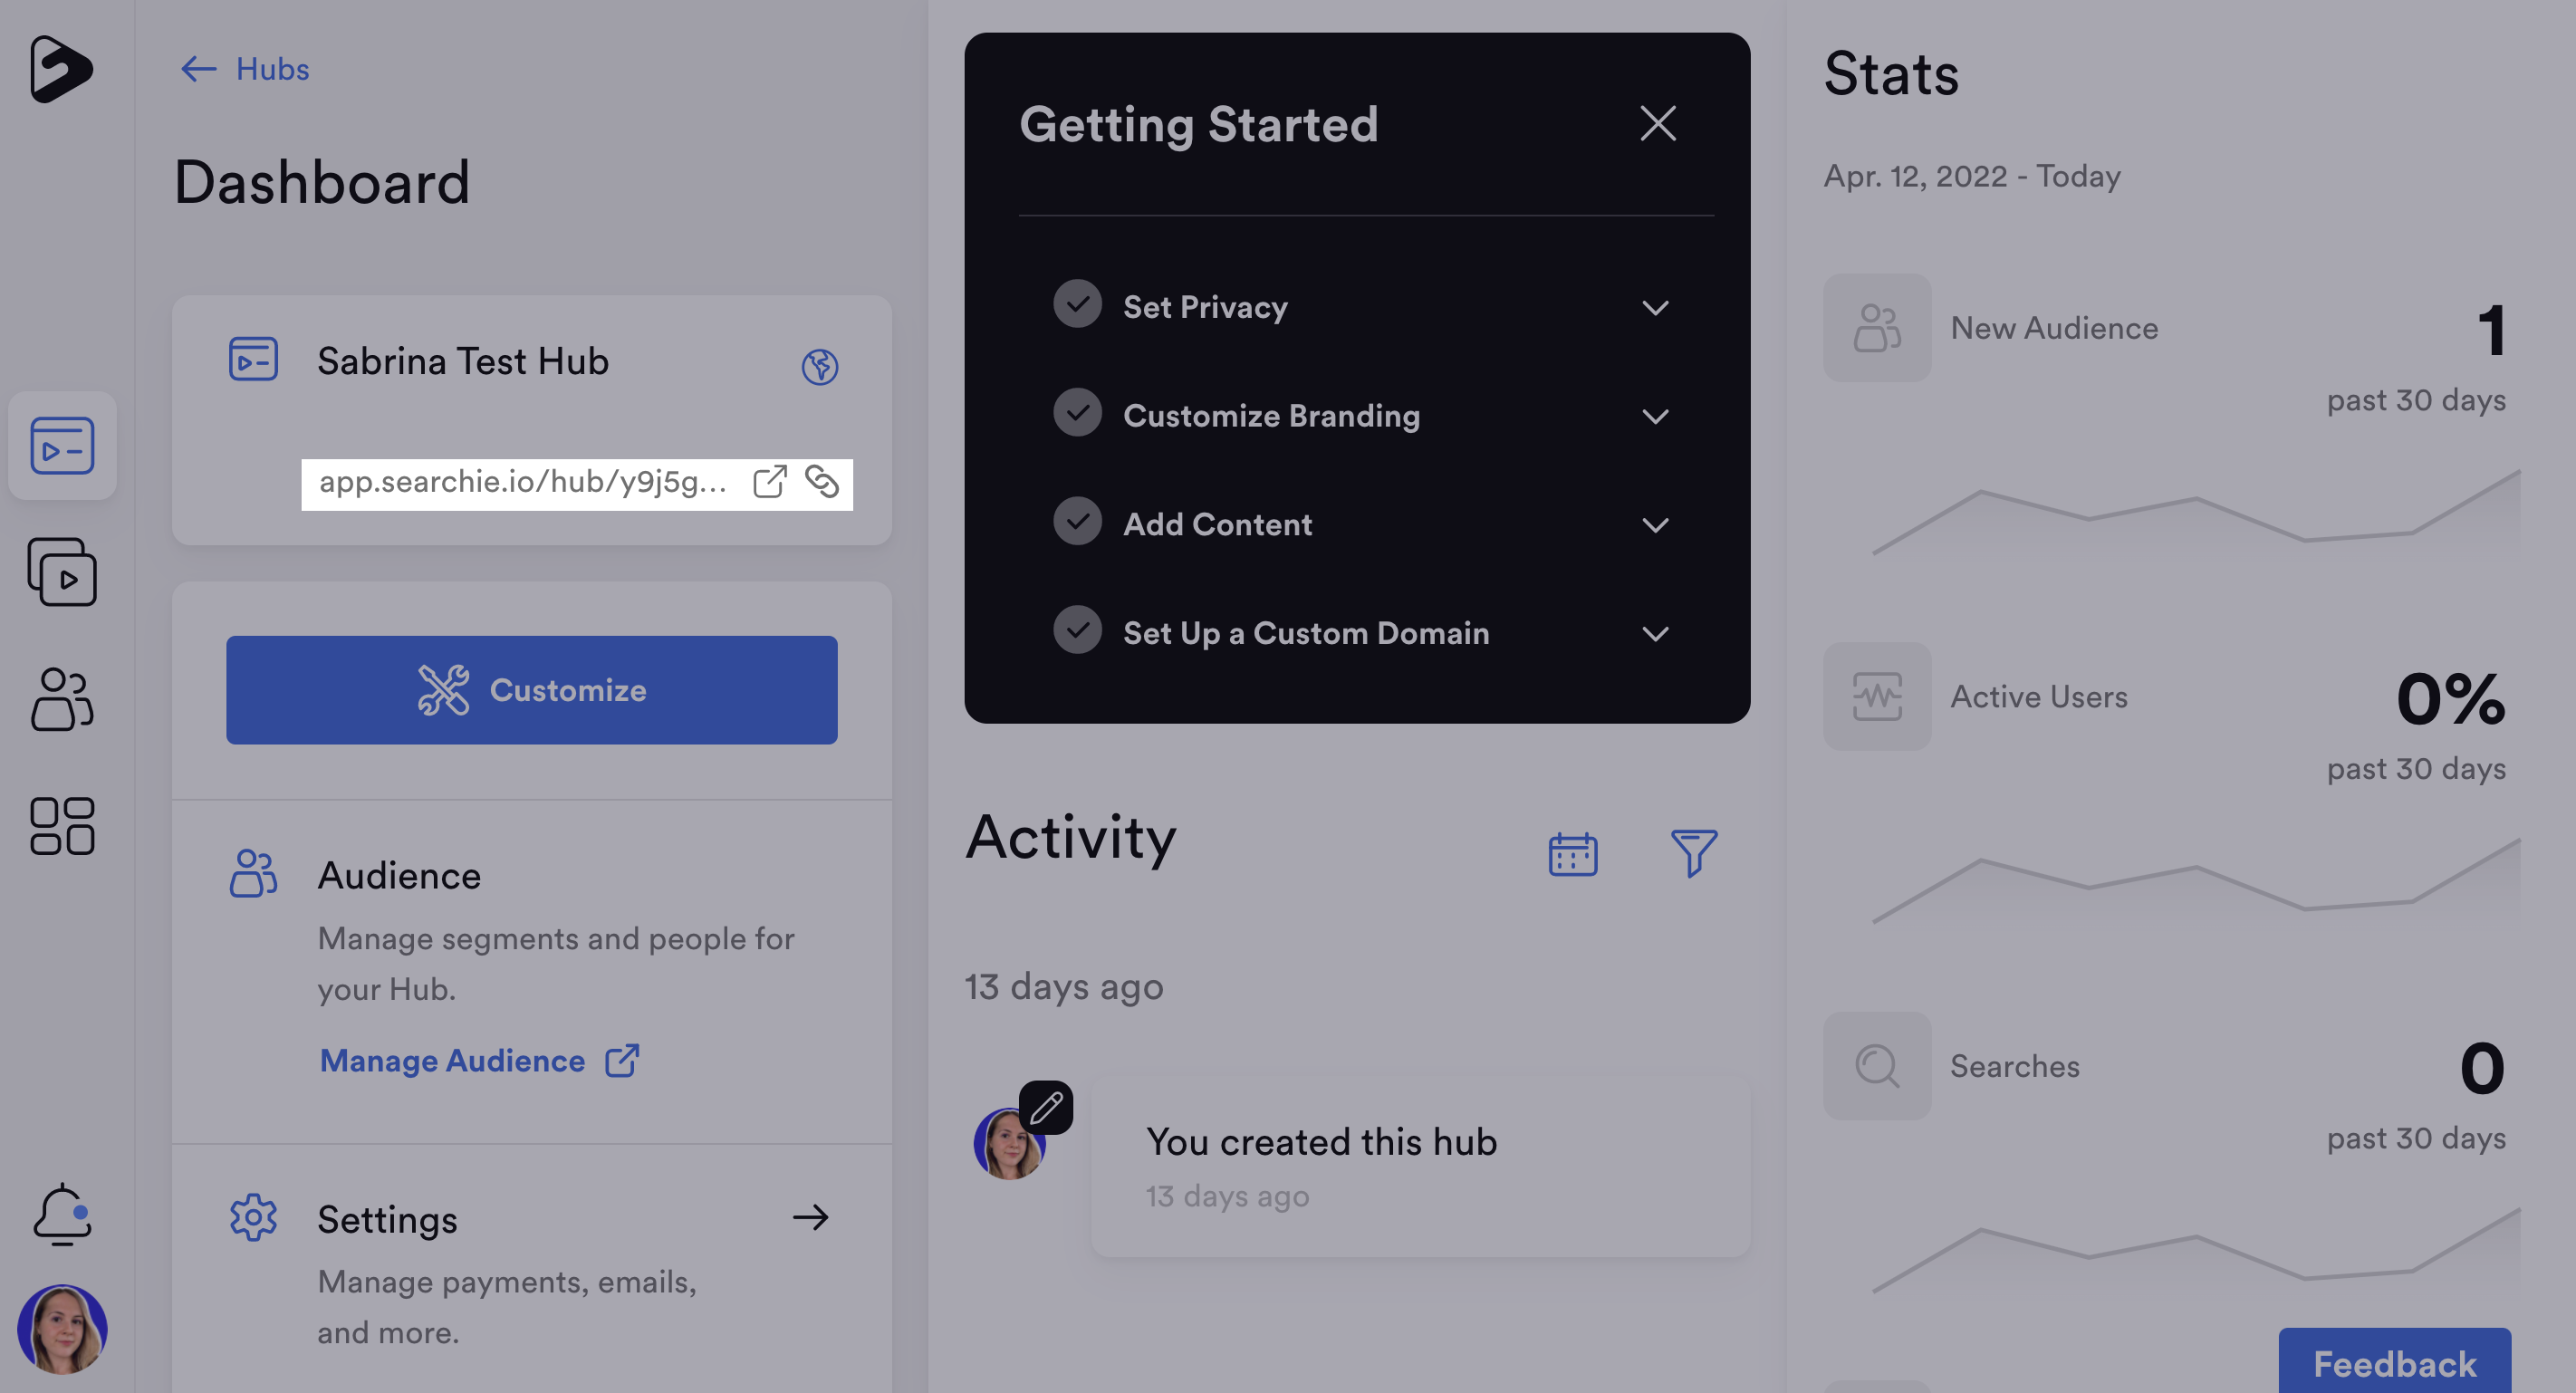
Preview and Share your Hub
Click the Preview icon (left) to see the live version of your Hub.
The Link icon (right) will copy the Hub URL, allowing you to easily share your Hub externally.
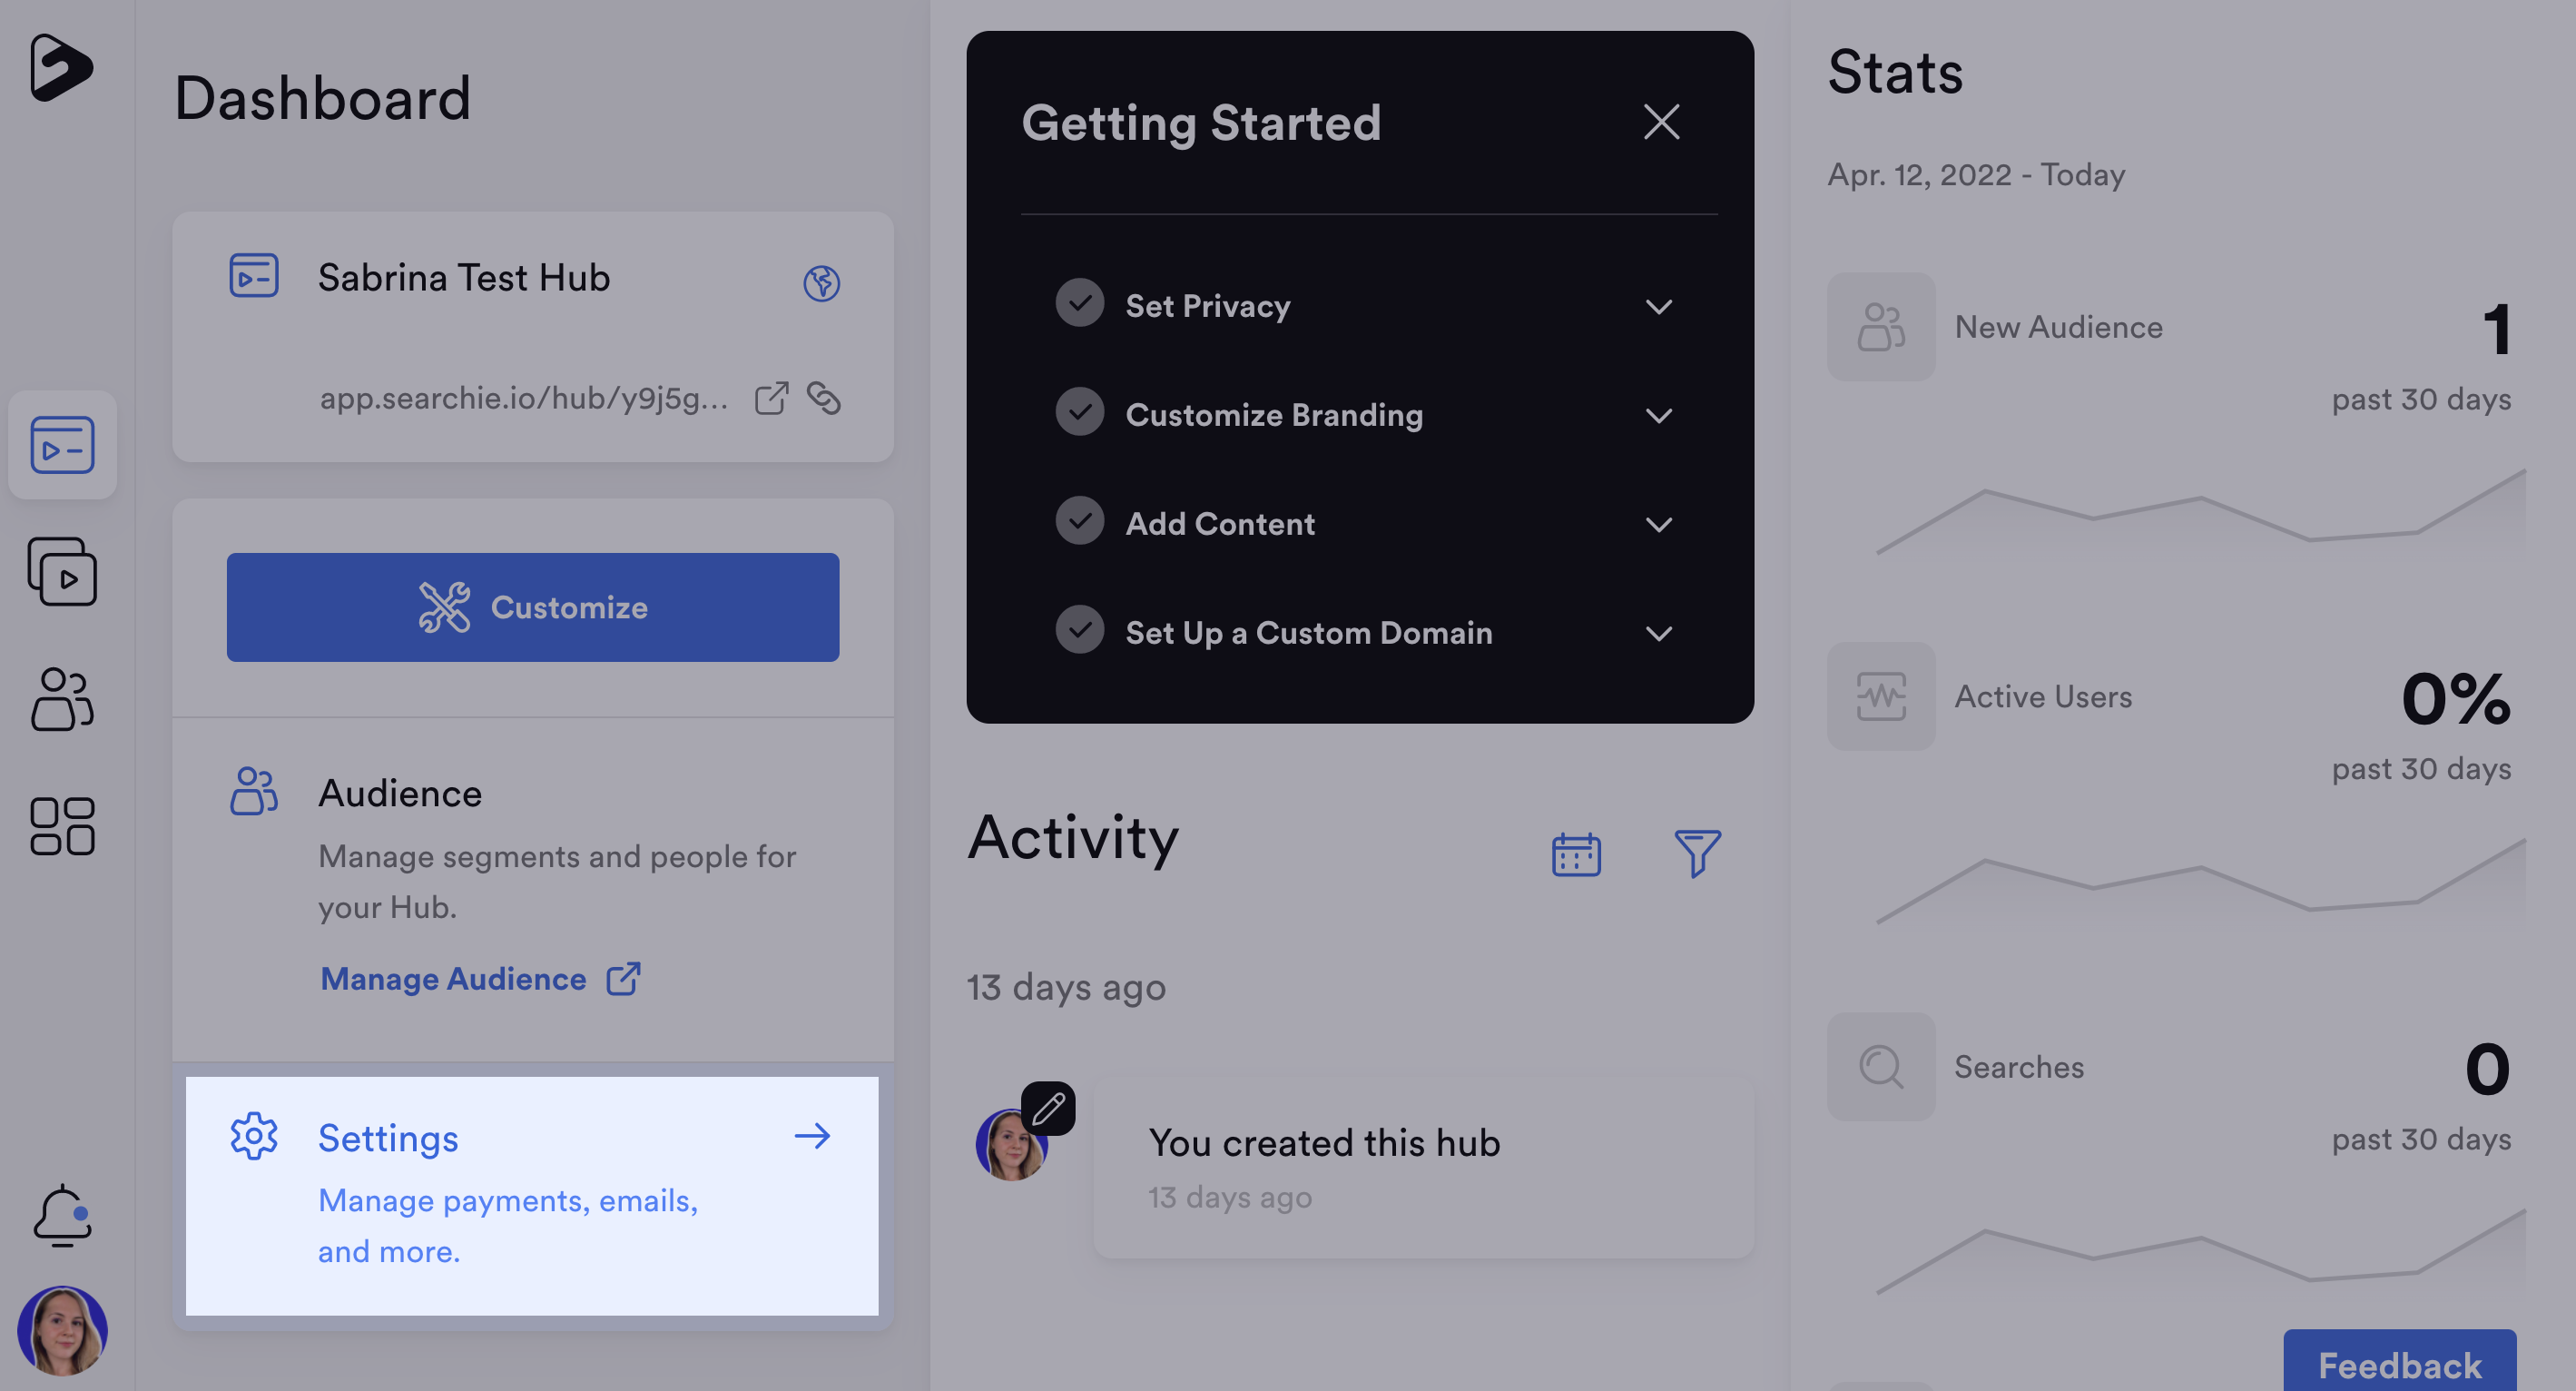
Control Hub Settings
Your Hub's Settings menu allows you to adjust the Privacy, Domain, Payments & Registration, Emails, Tracking, and SEO of your Hub.
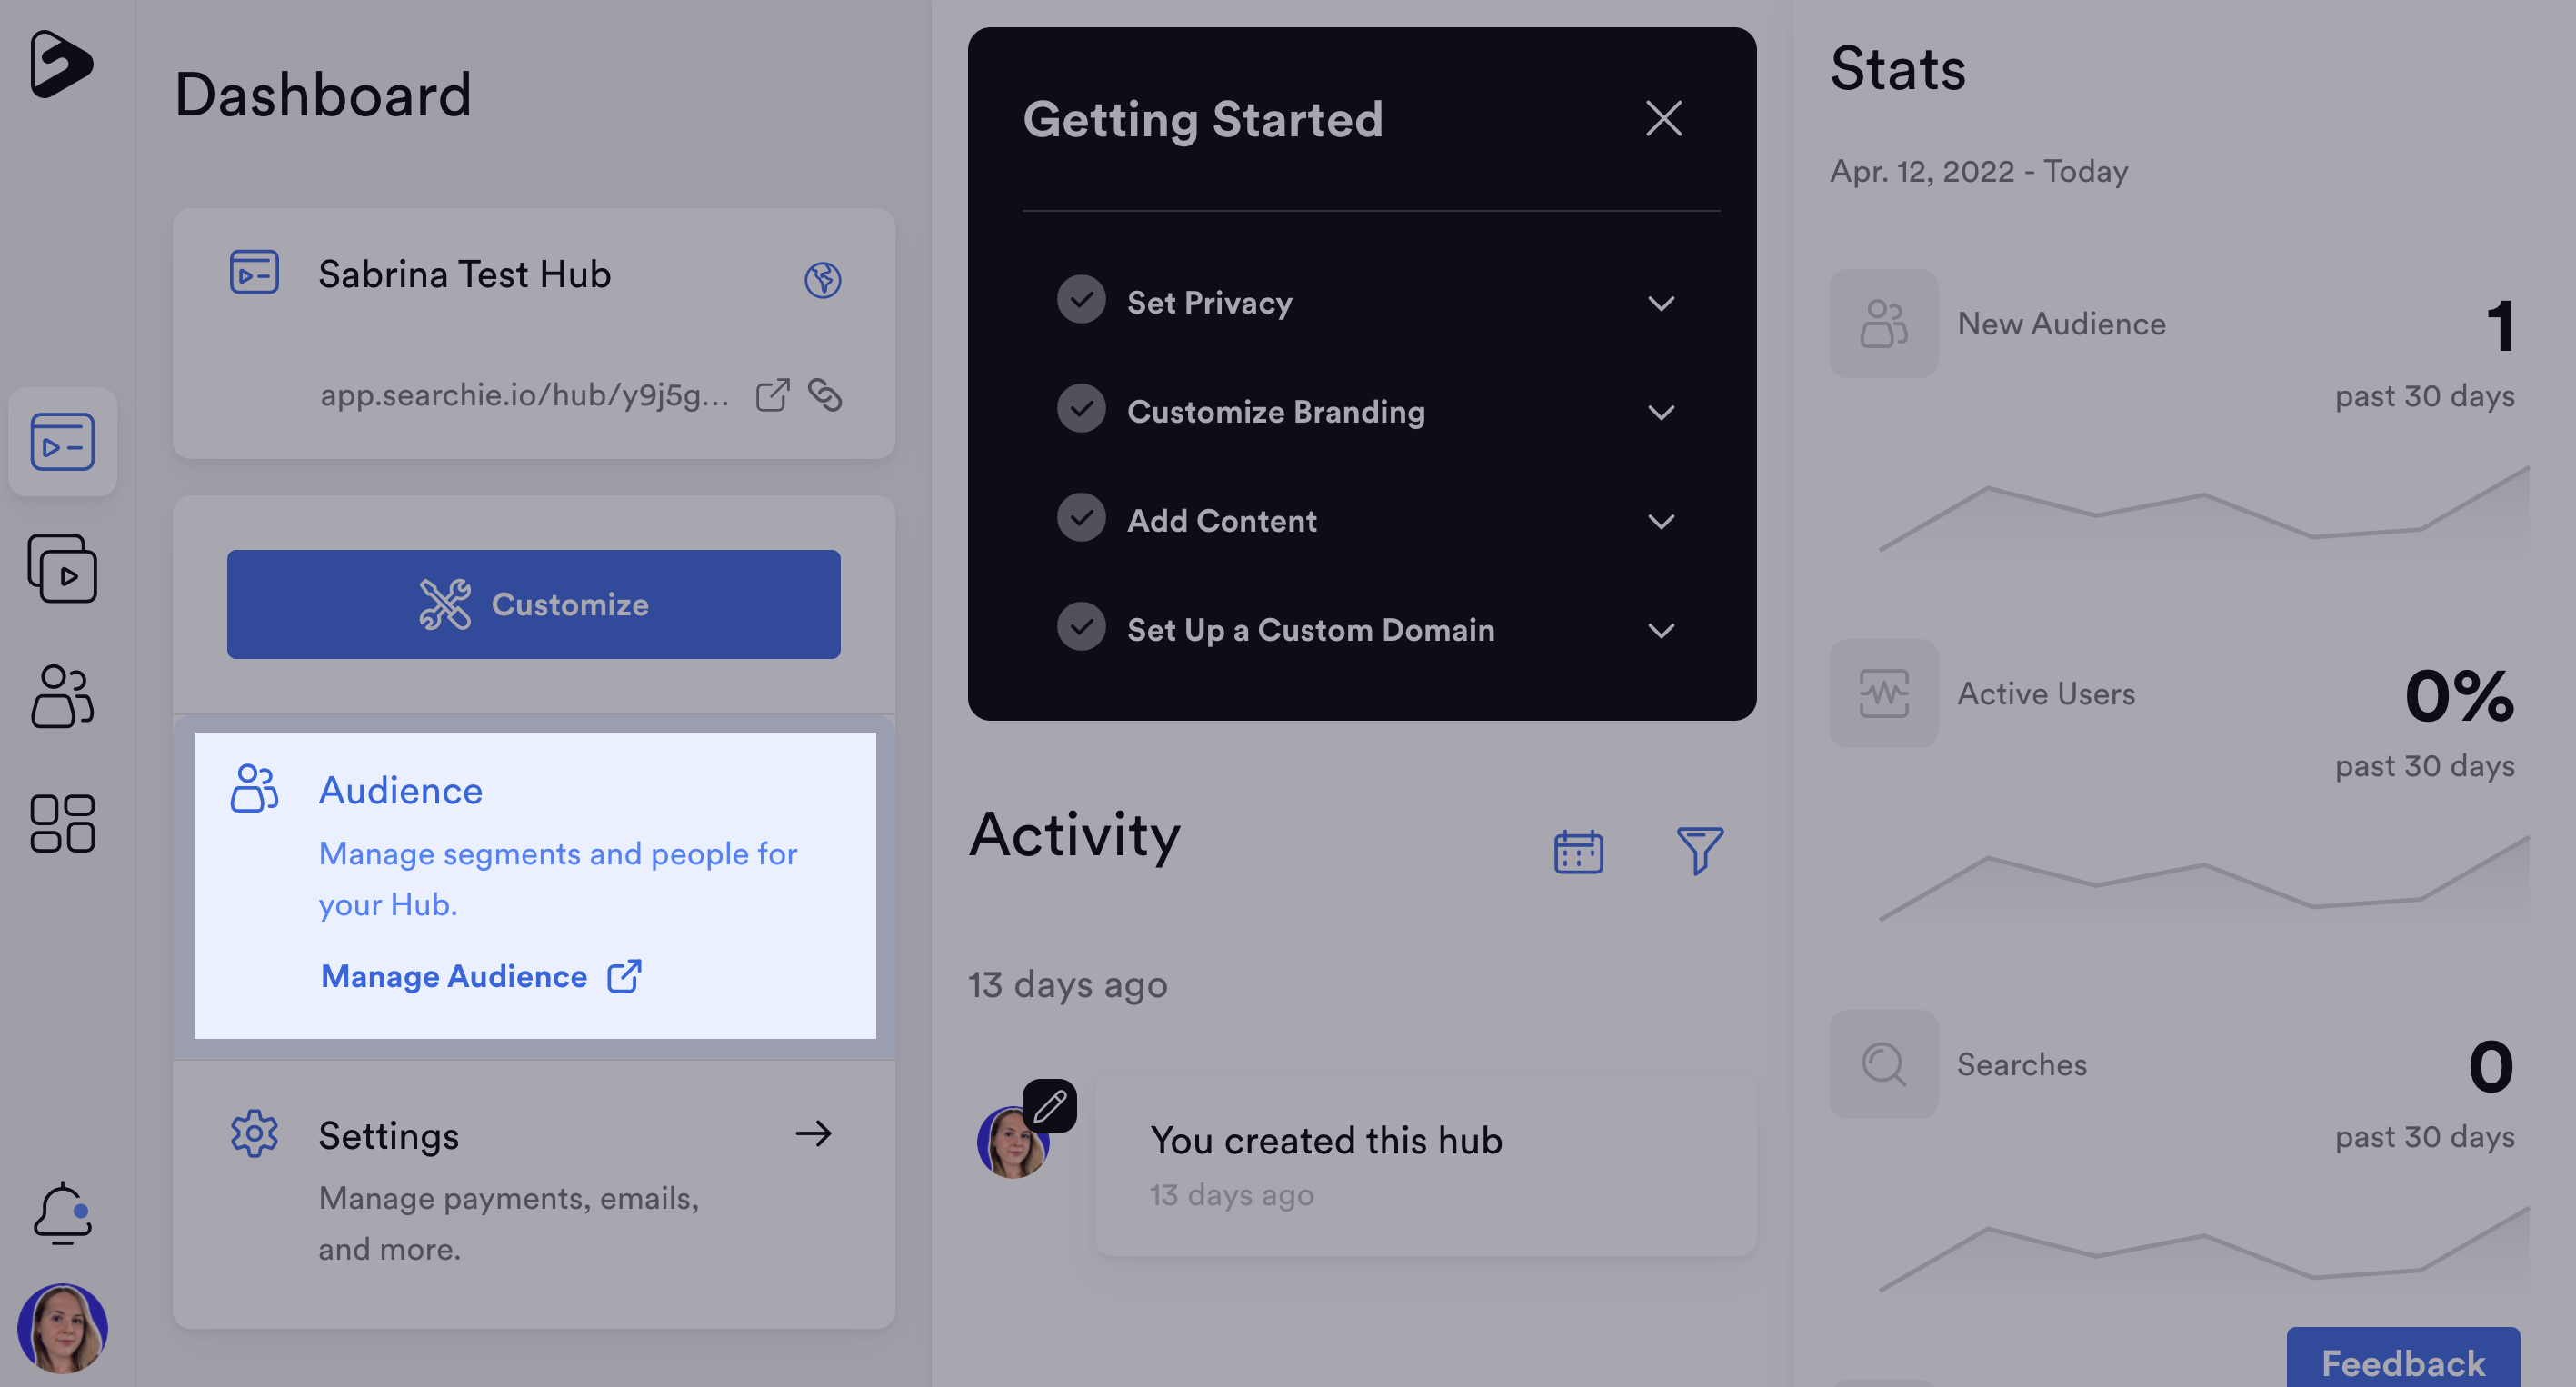
Manage Hub Audience
Click to access your Hub's Audience to filter your full audience list down to those who have access to this particular Hub.
View Activity and Stats
View, track and filter Hub analytics such as recent Hub activity, new audience members, active users, searches and retention. You can also Expand for a more advanced view.
.png)