
Replace a media file with a new version using the Replace File dropdown
🧰 What You Will Need
-
At least 1 media file in your account
Step 1 - Open your Library
Head to the Library tab inside of your Searchie account. This is where you'll find the file you want to replace.
Step 2 - Select the Replace option on your file
NOTE: The replace function can only be used for files that were manually uploaded to your Library. It does not apply to files that were uploaded through integrations from other platforms.
Locate the file you want to replace. Hover over the file to click the three-dot menu. From here, click Replace.
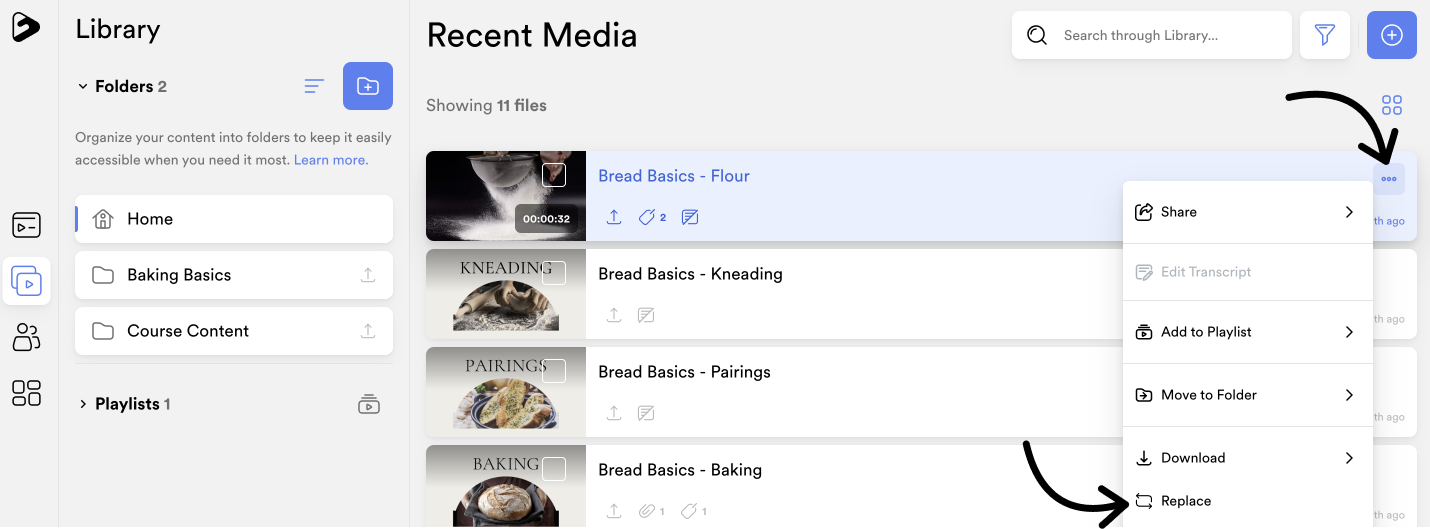
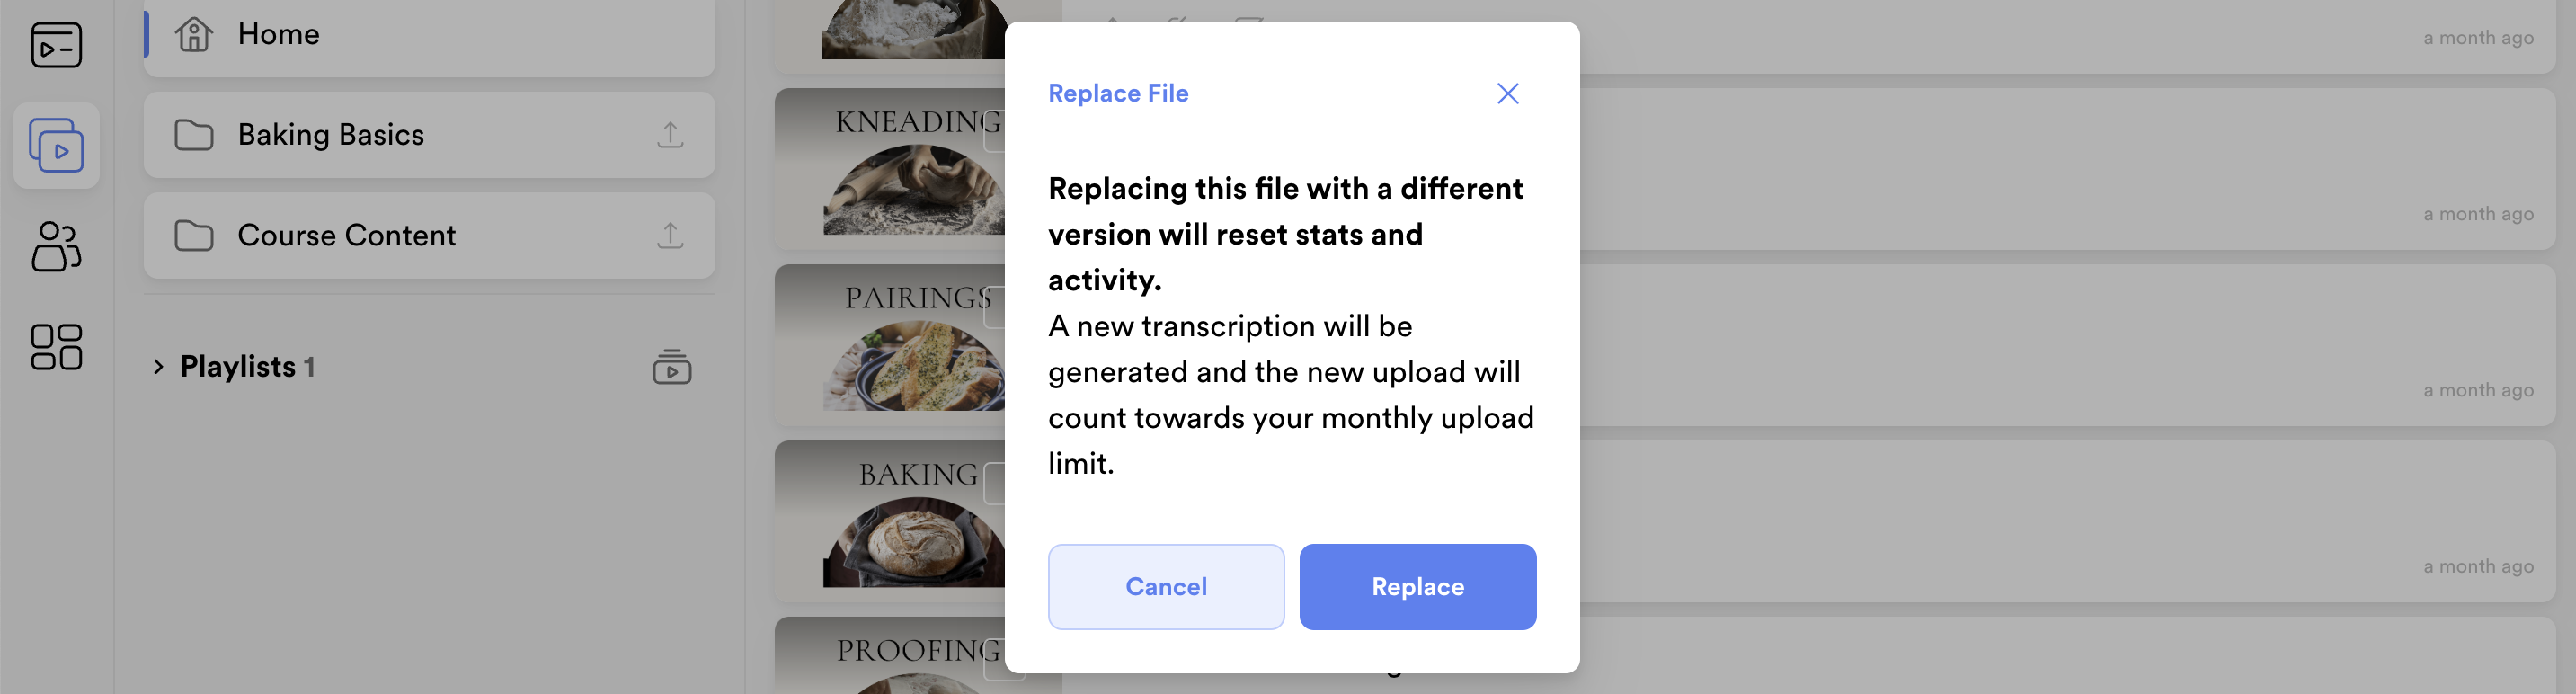
You'll see a pop-up with a reminder that your stats and activity will be reset, along with your transcription. Click Replace if you want to continue or Cancel if you don't.
Step 3 - Select your new file to upload
Select a file from your computer to upload as the replaced version of your selected file.
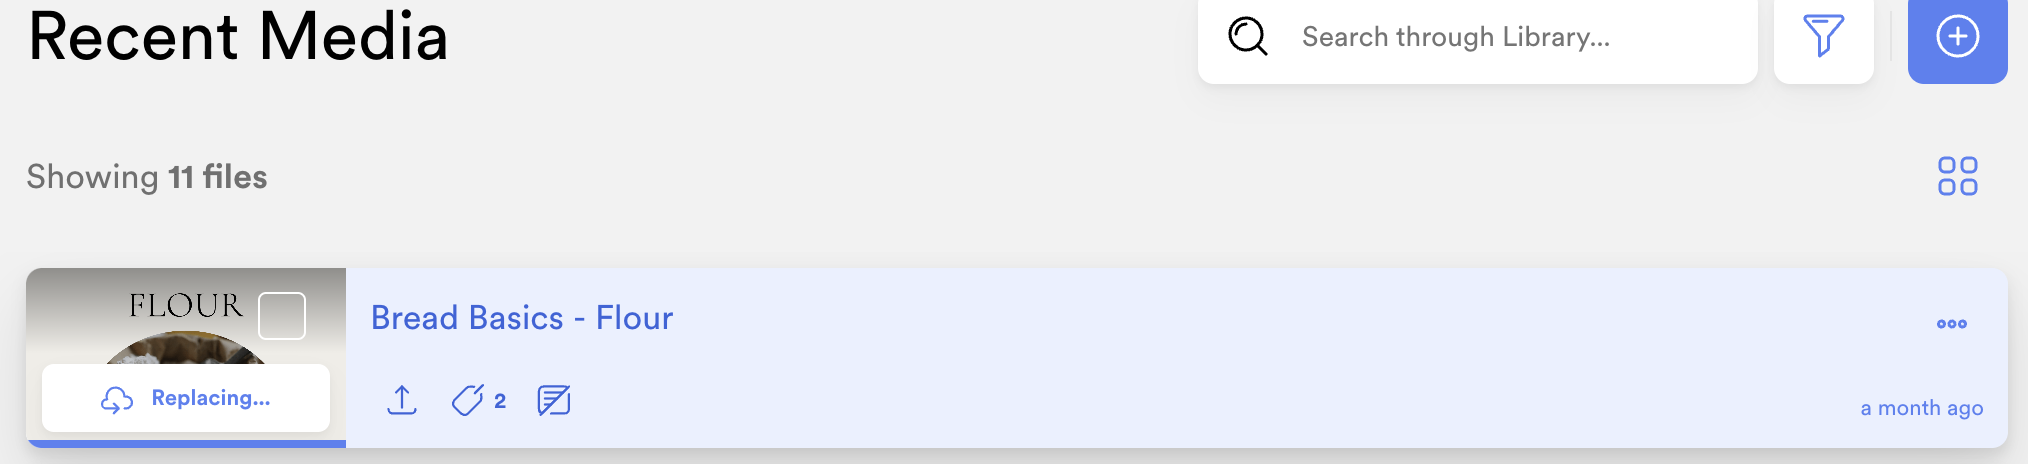
You'll see the new file appear in your Recent Media page with a Replacing... status.
Once your file has uploaded successfully, you'll get a notification 🔔 with a note that your file has been replaced successfully. 🎉

And then you're all set! 😊
This new file will now appear in every Playlist, Widget or Hub that the original version appeared. The original thumbnail, file description, content tags and attachments will also transfer over. 👍
📚 Up Next
-
Proofread your transcriptions with Rev
-
Replace an existing transcription with an SRT file